
Integration Configuration
Overview
The Integration Configuration module enables you to configure key system integrations, including Open API settings, encryption key rotation, and Single Sign-On (SSO) settings. This guide provides a step-by-step approach to managing these configurations efficiently.
Accessing Integration Configuration
Navigate to Integration Configuration in the system menu.
Expand the menu to view available configuration options:
Open API Configuration
Rotate Encryption Keys
Identity Provider/ Single Sign-On
Open API Configuration
Steps to Configure Open API Settings
Click Integration Configuration > Open API Configuration.
The Open API Configuration page appears.
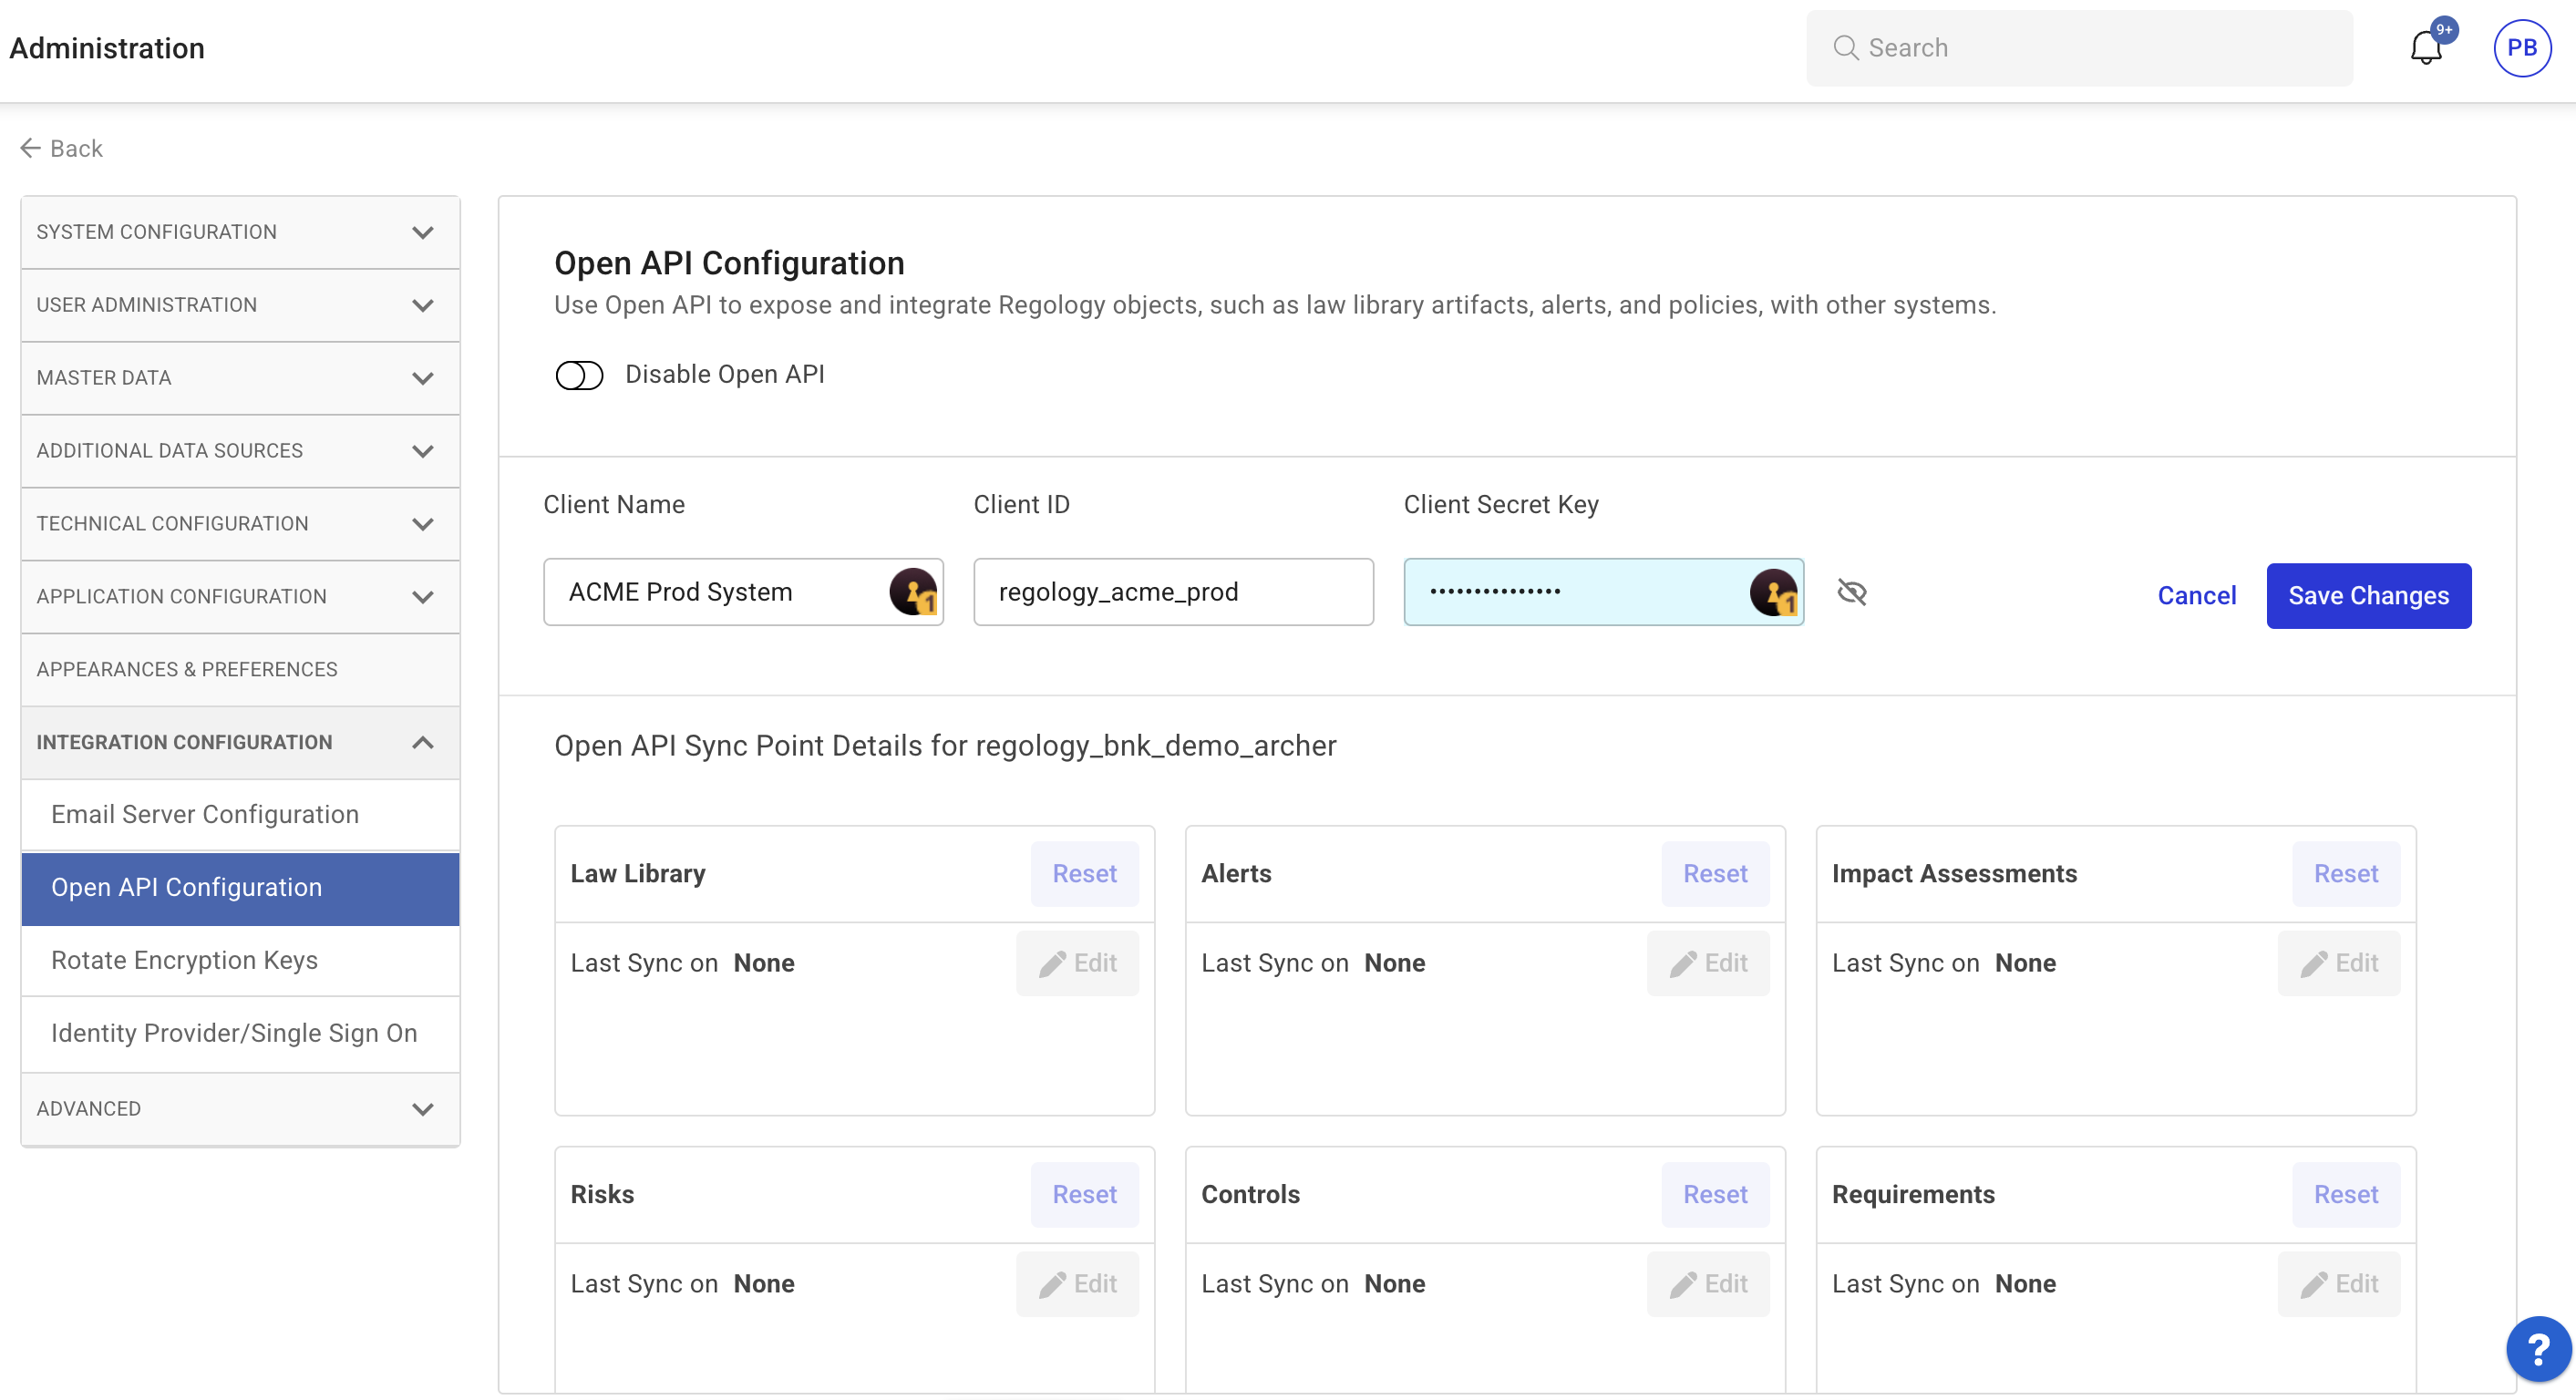
Click on the Edit icon to modify the existing configuration.
Enter the required values:
Client ID: Enter the authentication client ID.
Client Secret Key: Enter the corresponding client secret key.
Click Cancel to discard unsaved changes at any time.
Click Save to confirm changes.
Rotate Encryption Keys
Steps to Rotate Encryption Keys
Click Integration Configuration > Rotate Encryption Keys.
The Rotate Encryption Keys page appears.
Click Rotate Encryption Key to generate a new encryption key and re-encrypt all stored passwords.
Identity Provider (Single Sign-On) Configuration
Adding a New Identity Provider
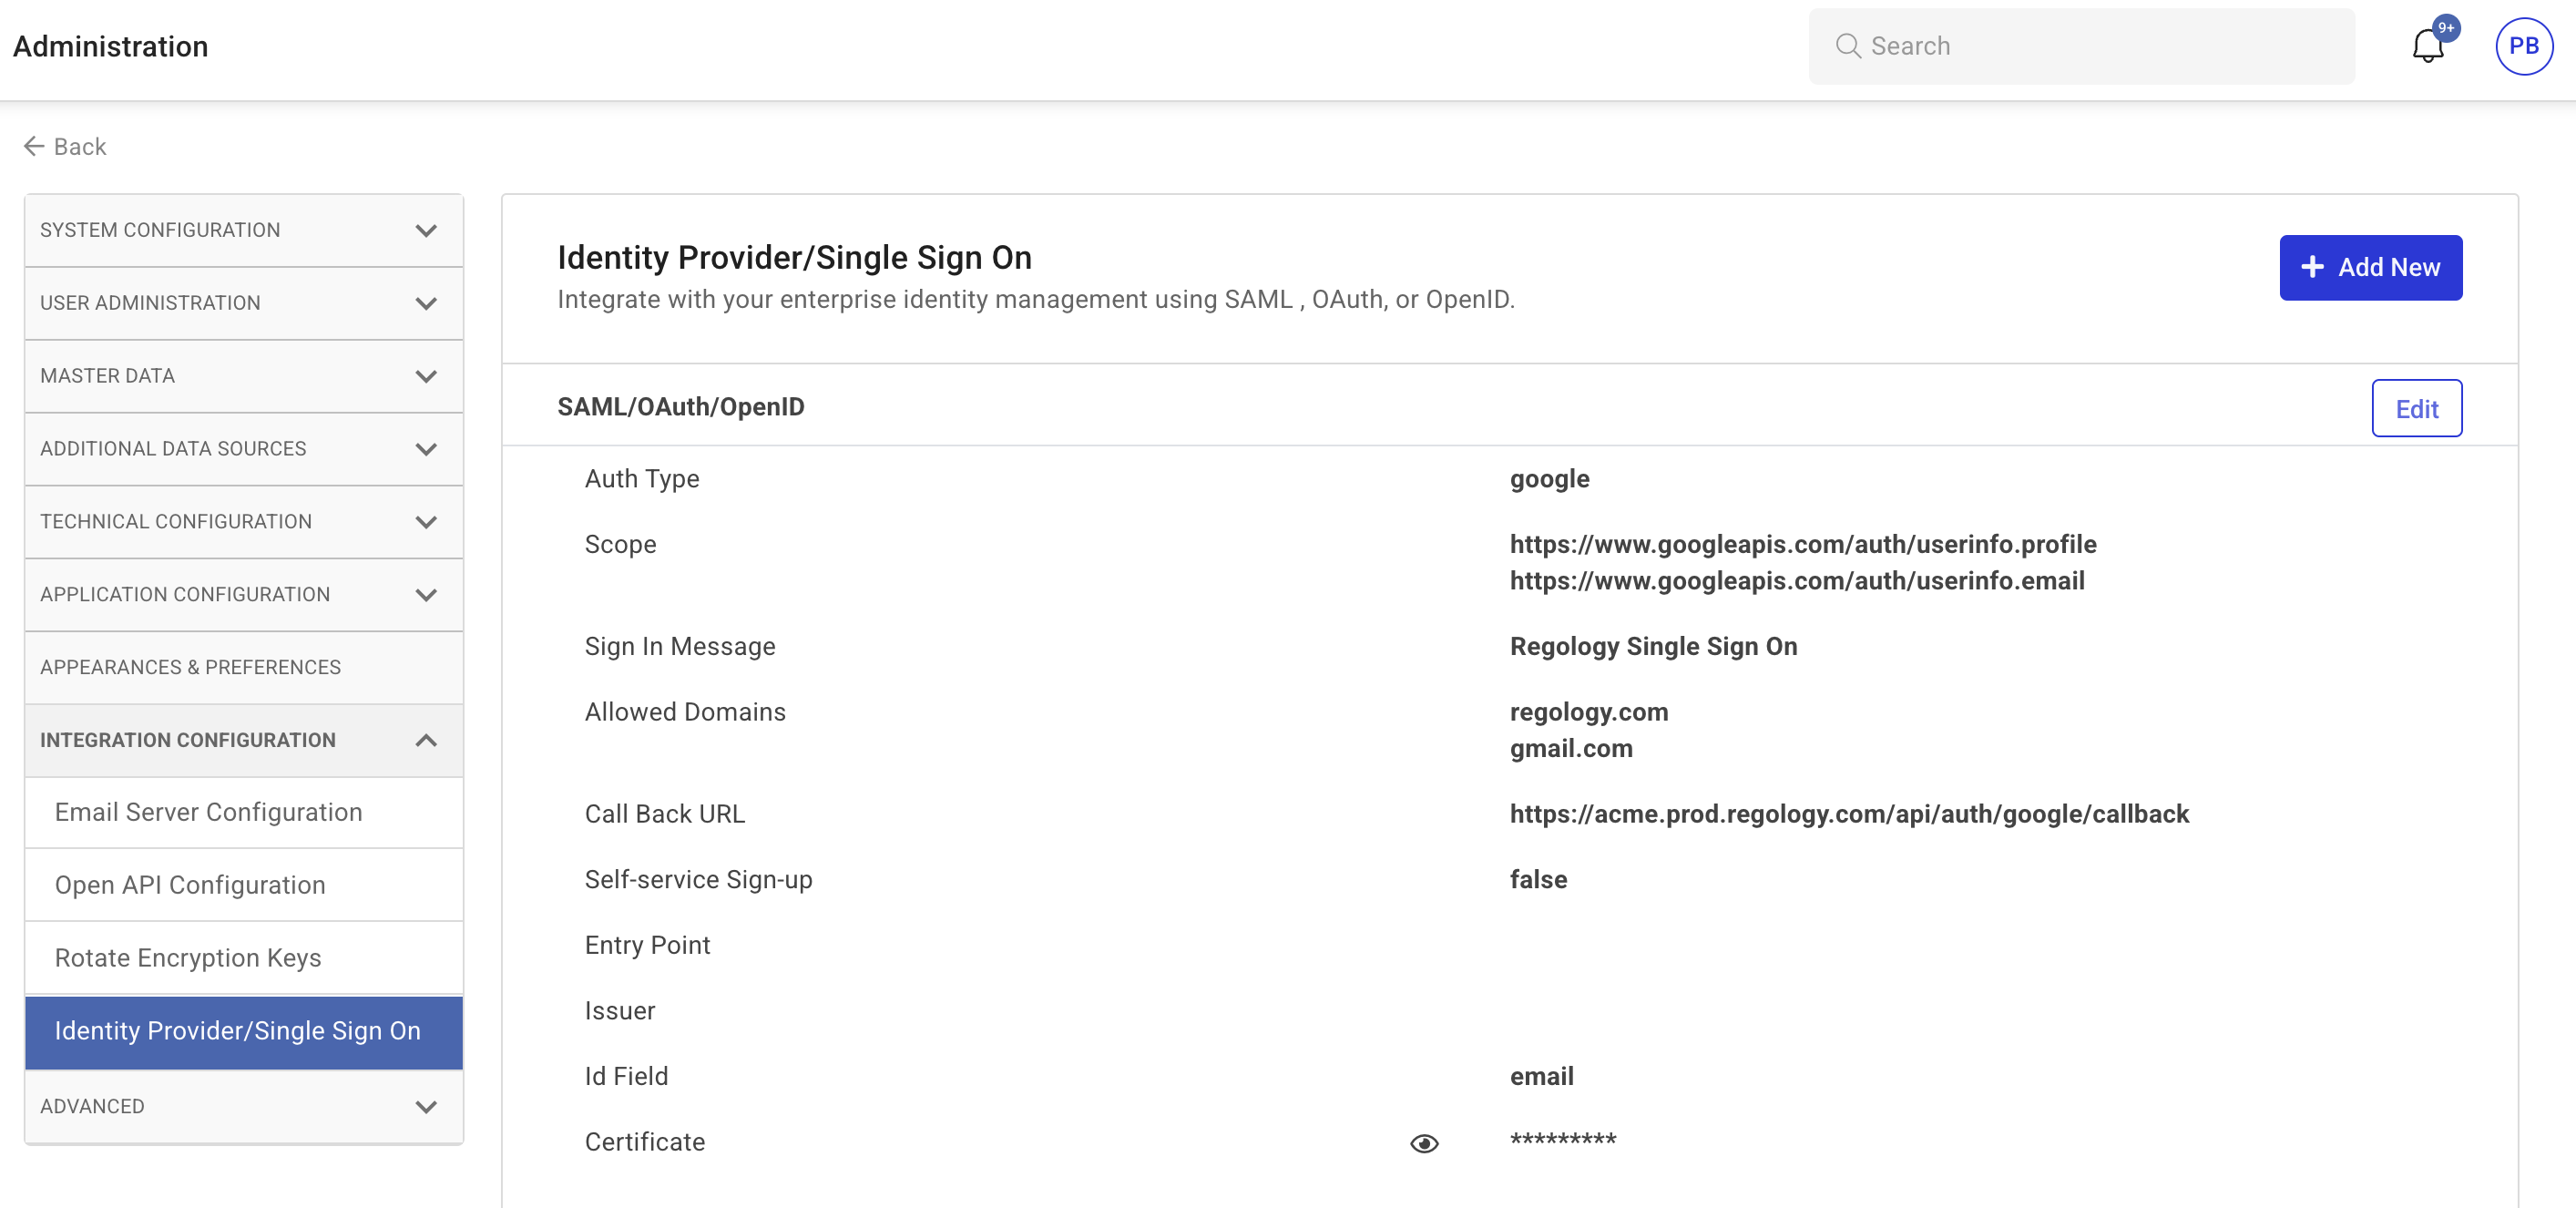
Click Integration Configuration > Identity Provider/Single Sign-On.
The Identity Provider/Single Sign-On page appears.
Click Add New.
Enter the required details:
Auth Type: Select SAML, OAuth, or OpenID.
Auth URL: Provide the authentication URL.
Sign-In Message: Customize the sign-in message if needed.
Allowed Domains: List domains permitted to use this provider.
Call Back URL: Enter the callback URL.
Self-Service Sign-Up: Set as True if supported.
Click Cancel to discard unsaved changes.
Click Done to save changes.
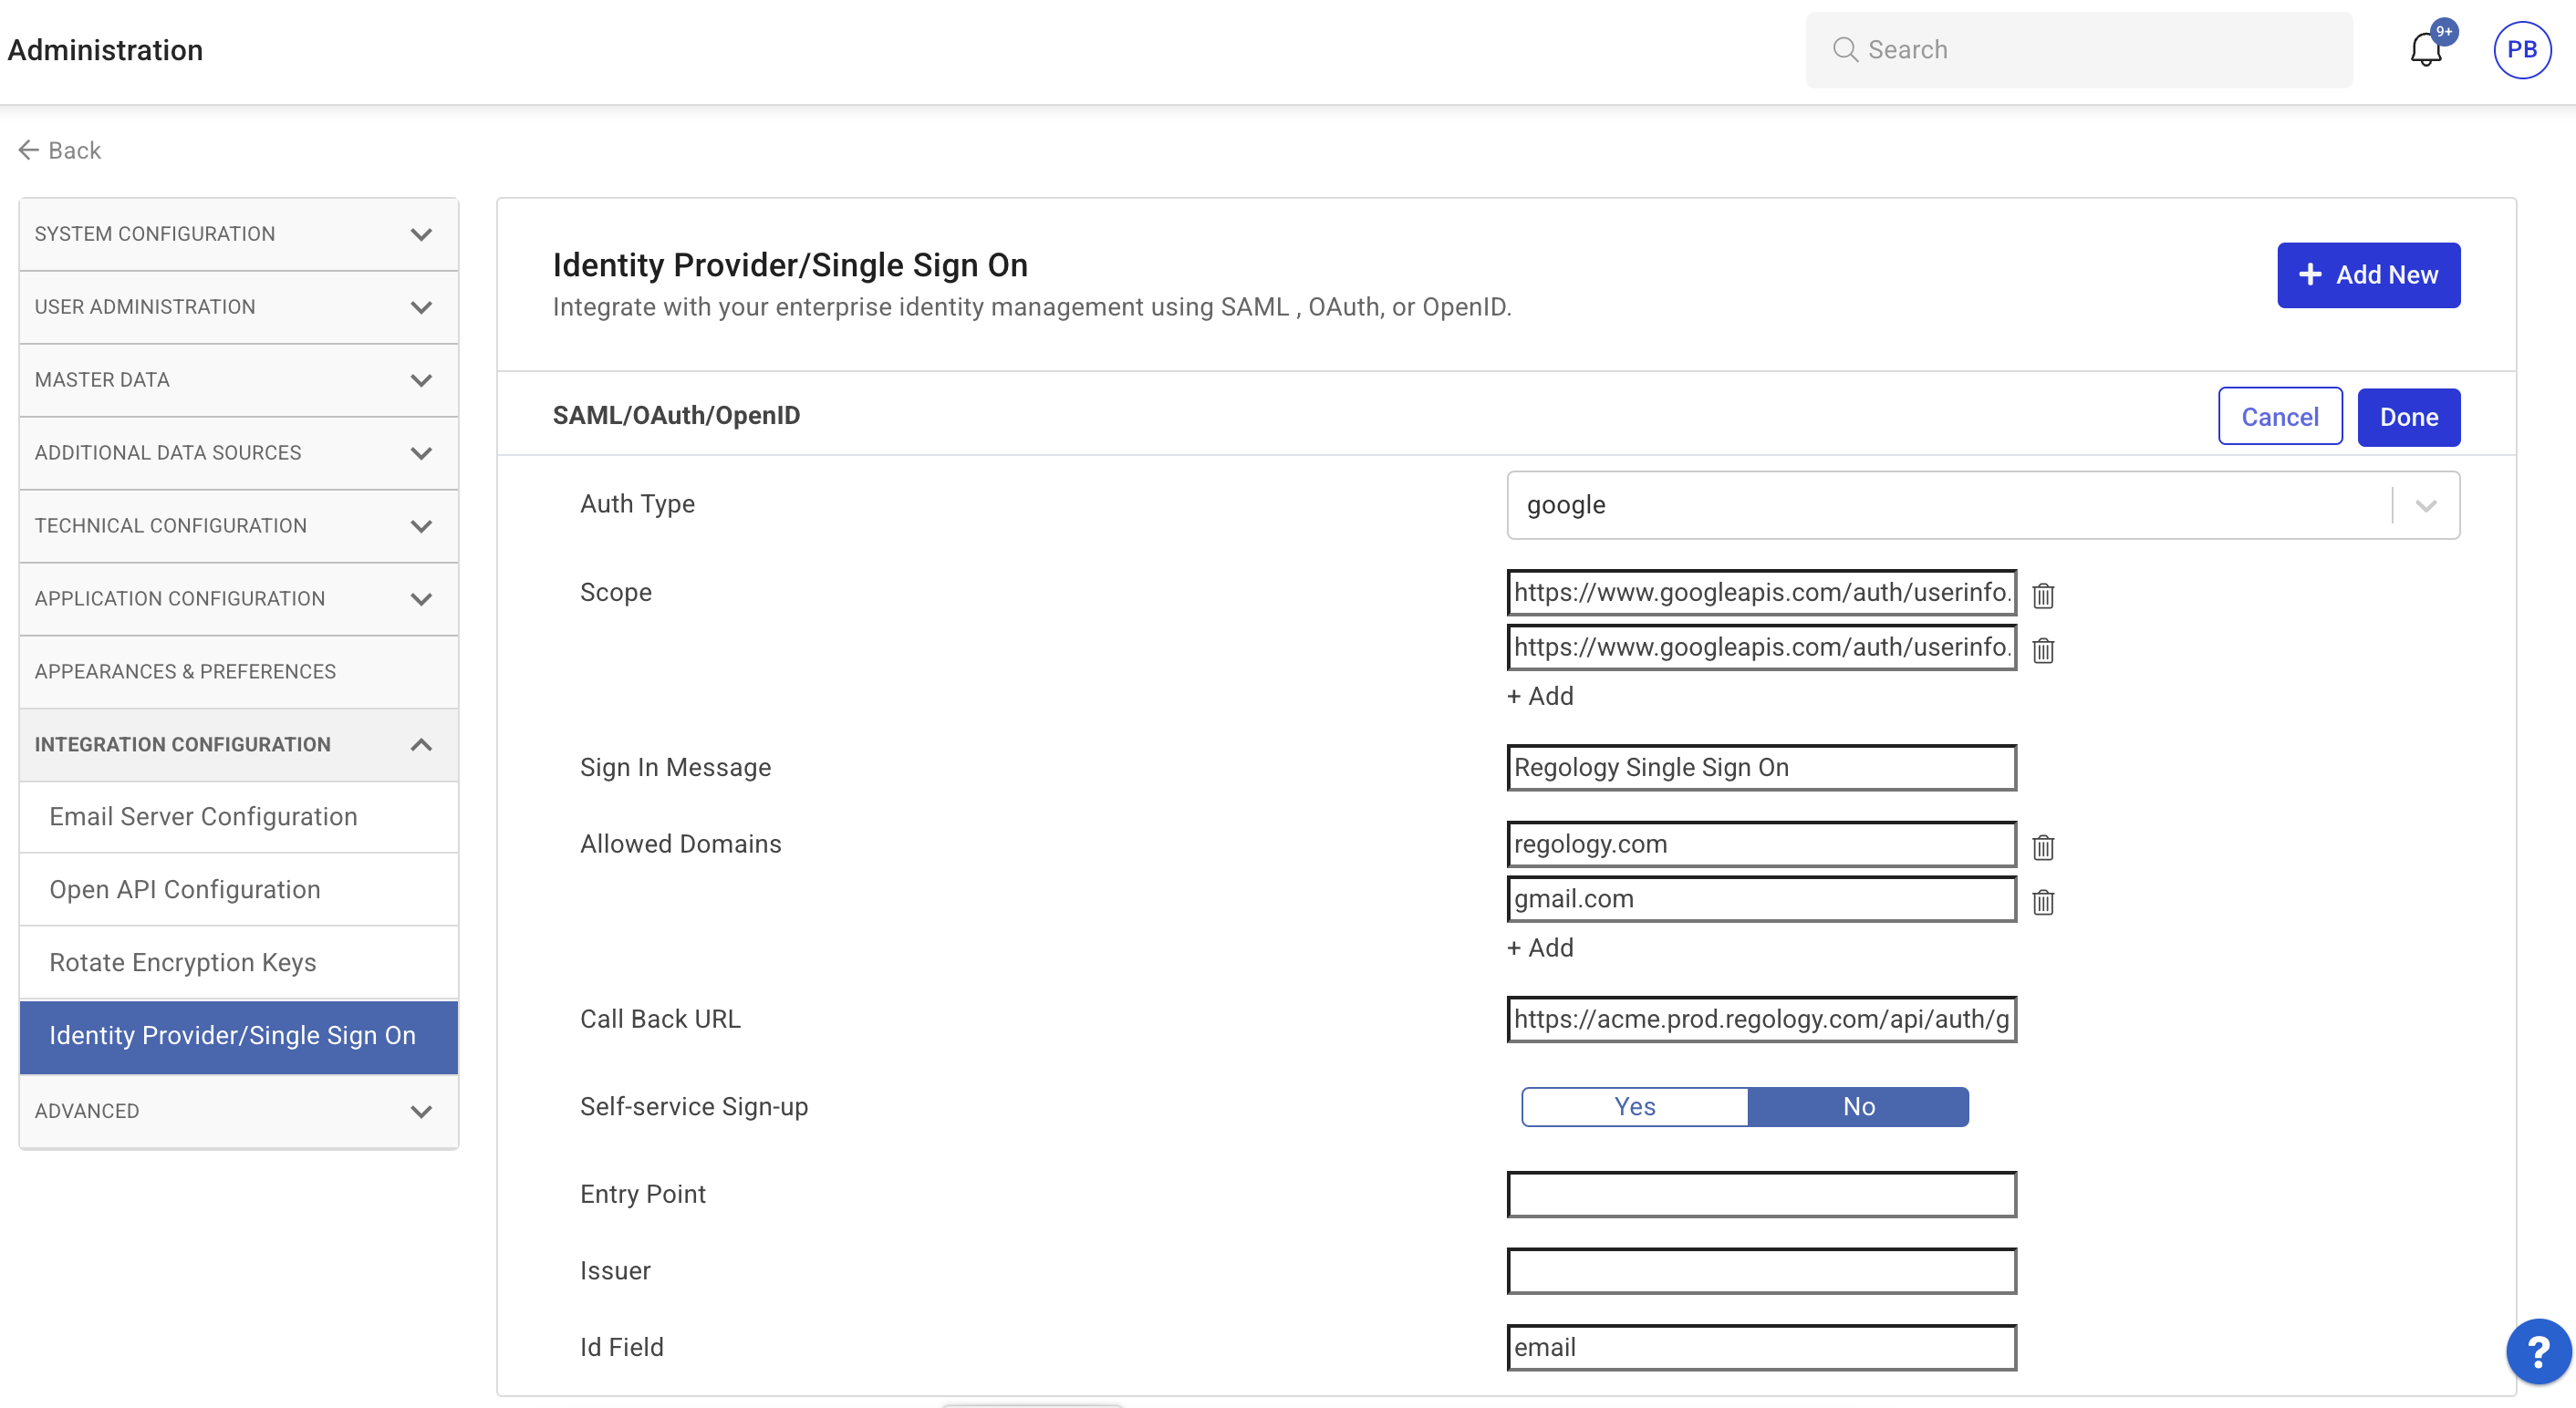
Editing an Existing Identity Provider
Locate the identity provider to edit.
Click Edit next to the provider.
Modify the required details:
Auth Type, Auth URL, Sign-In Message, Allowed Domains, Call Back URL, and Self-Service Sign-Up.
Click Cancel to discard unsaved changes.
Click Done to save modifications.
Proper configuration ensures seamless communication between system components and external services. Regularly review and update integration settings to maintain system security and functionality.
SCIM
Overview
Regology supports SCIM (System for Cross-domain Identity Management) to automate user provisioning and deprovisioning. This is a dedicated SCIM tab within the Identity Provider Configuration section of the Admin panel. Administrators can now manage SCIM credentials, enable provisioning, and seamlessly synchronize identity and access permissions with their IdP (e.g., Okta, Ping Identity).
Accessing SCIM Configuration
Navigate to Administration in the left-hand panel.
Under Admin Settings, click on System Configuration.
Expand the Identity Provider Configuration section.
You will see two tabs:
Identity Provider/Single Sign-On
SCIM
Activating SCIM
Click on the SCIM tab.
Select Activate SCIM.

Upon activation, the following SCIM credentials will be displayed:
Client ID (e.g., reg_scim_<tenant>)
Secret Key (masked, with eye icon to toggle visibility)
SCIM API Endpoint (auto-generated and non-editable)

Note: The SCIM API Endpoint is derived from your Regology landscape and cannot be manually modified.
Managing SCIM Credentials
Viewing and Copying Credentials
Click the eye icon to toggle visibility of the Secret Key.

Click the copy icon next to the SCIM API Endpoint to copy it.
A tooltip saying "Copy" appears on hover.
A confirmation message "Copied to Clipboard" is displayed upon successful copy.
Use the Copy SCIM Connectivity Details button to copy all credentials for sharing with your IdP administrator.
Tip: Use this data to configure integration with identity platforms like Okta.
Editing SCIM Credentials
Click the pencil (edit) icon to enable inline editing of the Secret Key.
Once changes are made:
Save Changes and Cancel buttons appear.
The Save Changes button becomes active only after detecting edits.
Deactivating SCIM
Once SCIM is active, the Deactivate SCIM button appears.
Clicking Deactivate SCIM will:
Retain visibility of Client ID and Secret Key.
Replace the button with Activate SCIM.
Allow you to re-enable SCIM provisioning anytime.
Benefits of SCIM Integration
Automated user provisioning/deprovisioning: Syncs users between your IdP and Regology and centralizes user administration.
Role and permission synchronization: Keeps user permissions in Regology aligned with changes made in your IdP.