
Saved Views
Overview
Saved Views allow you to save specific filter configurations, making it easy to access relevant data quickly. Available across the Regology platform, including Alerts, Dashboards, Risks, Controls, Policies, etc., this feature enables you to customize, organize, and share filtered data to enhance workflow efficiency.
Creating a Saved View
Apply the desired filters to refine your data.
Click Save to View.
In the popup, enter a name for your Saved View.
Click Save.
Your Saved View will now be accessible from the Saved Views dropdown menu.
Managing Saved Views
You can manage your Saved Views using the Saved Views dropdown menu at the top of the platform.
The following options are available:
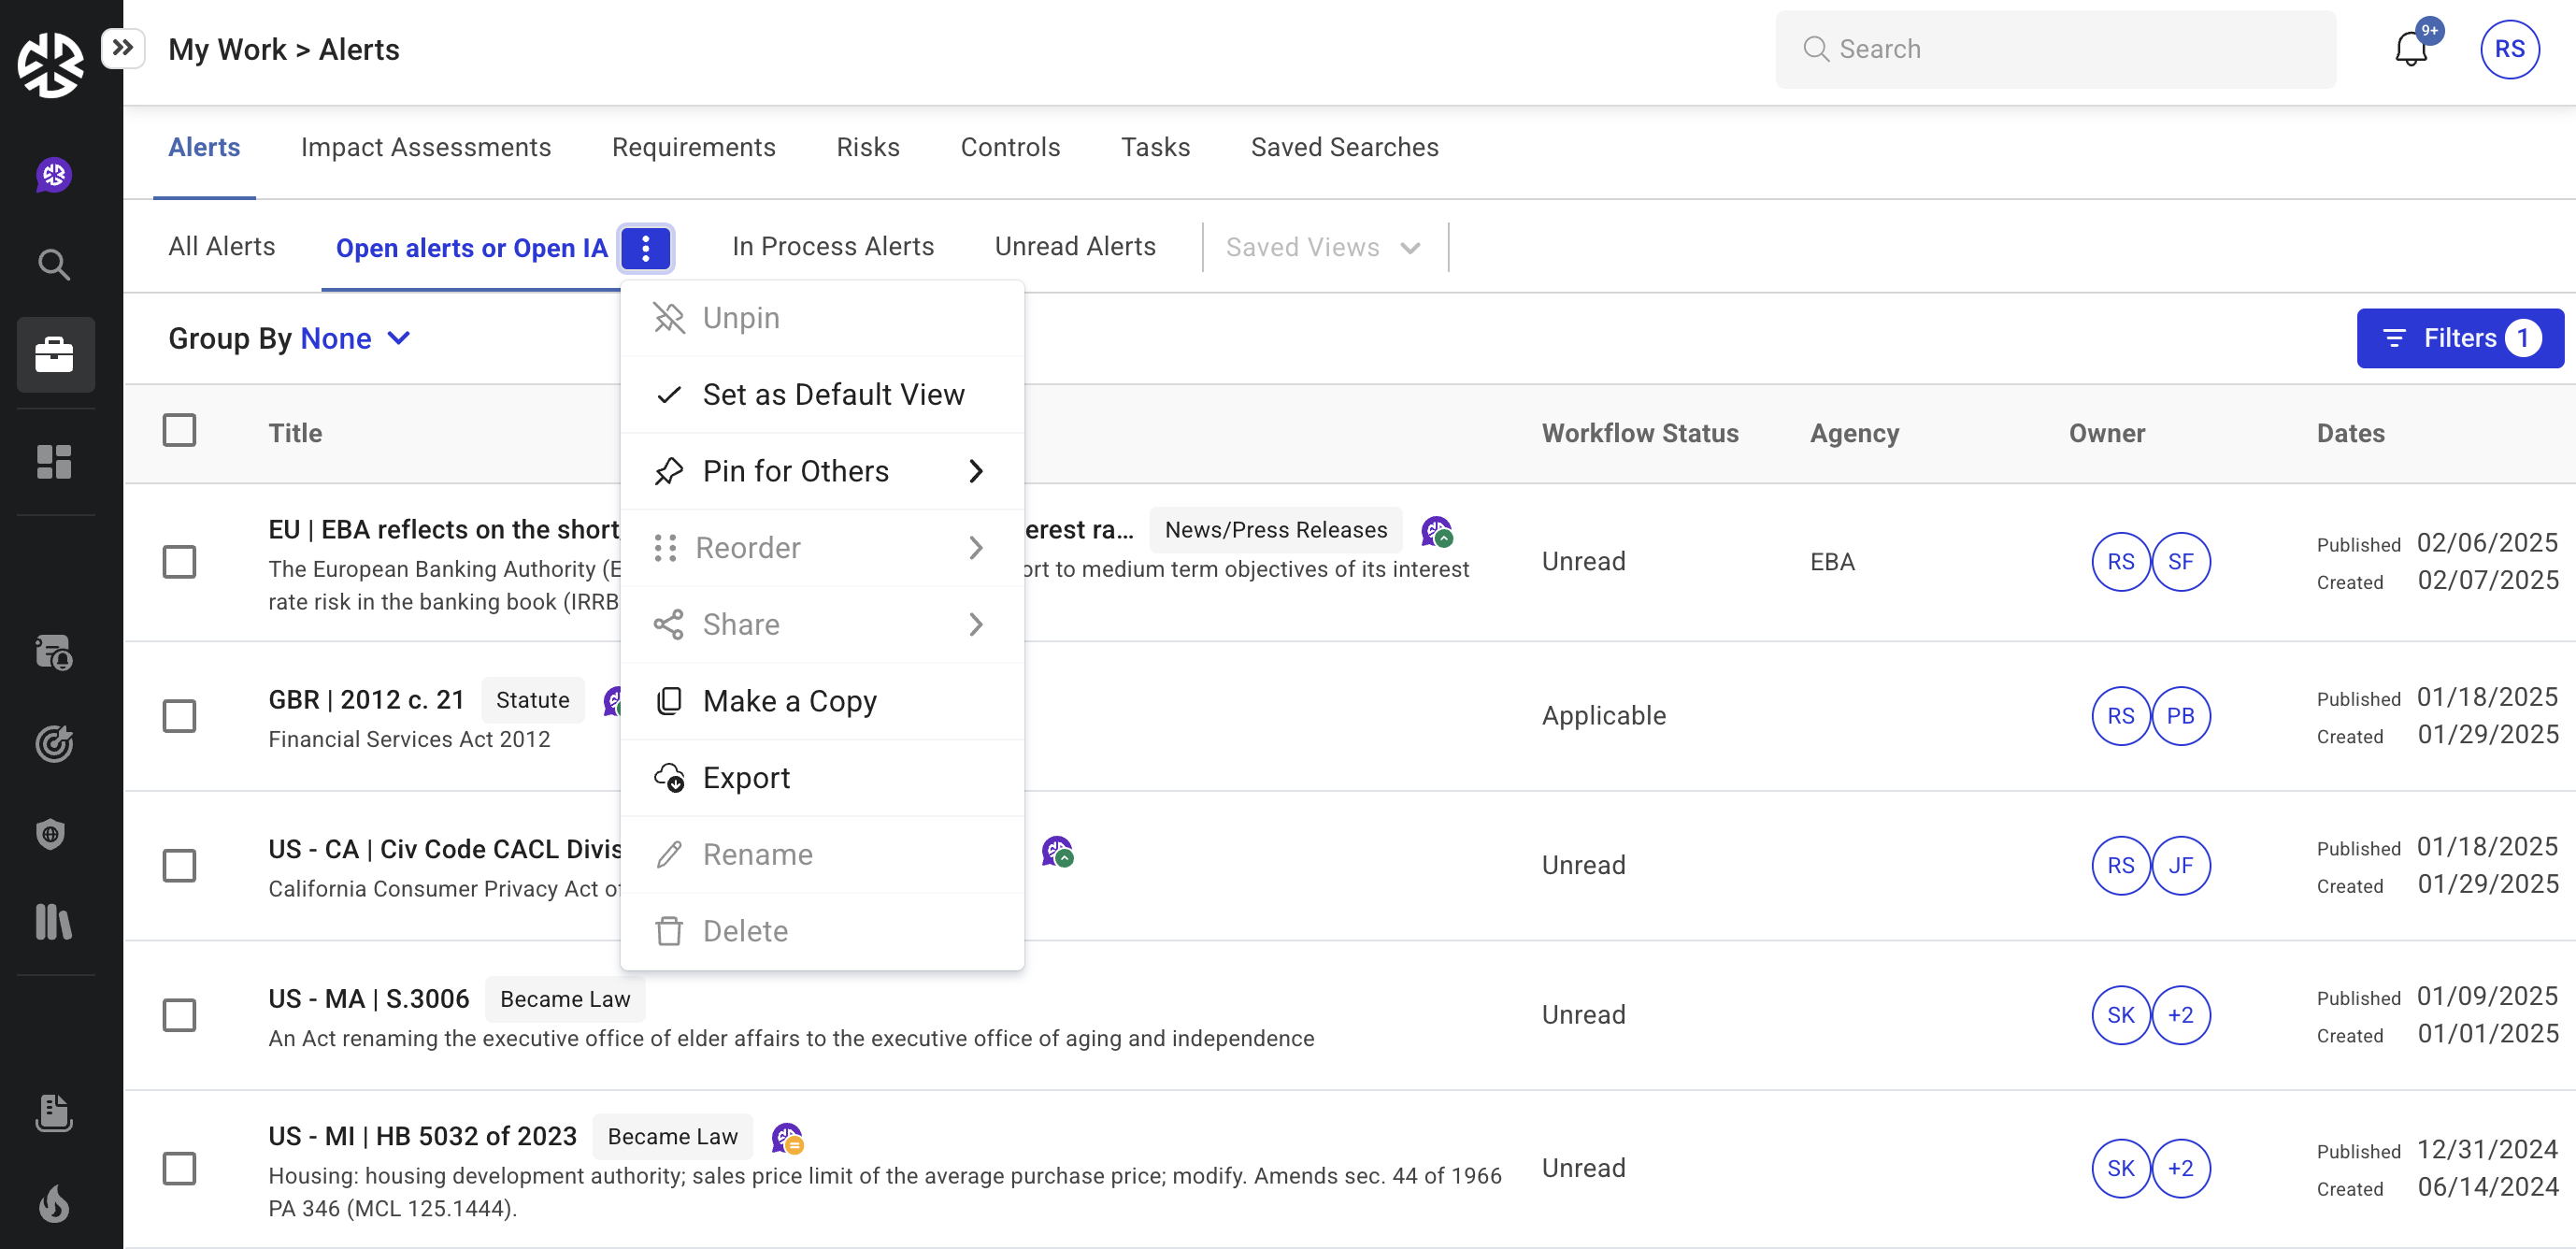
Pin/Unpin a Saved View
Pinning a Saved View adds it as a tab at the top of the platform for quick access.
You can pin up to four Saved Views at a time.
To unpin, select Unpin from the dropdown menu.
Sharing a Saved View
Open the Saved Views dropdown menu.
Click Share next to the Saved View you want to share.
Enter the names of users to share the view with.
Select their access level:
Editor: Can edit and view the Saved View.
Viewer: Can only view the Saved View.
Click Share to grant access.
Updating a Saved View
Make a Copy: Create a duplicate of a Saved View with a new name.
Rename: Modify the name of an existing Saved View.
Delete: Permanently remove a Saved View.