Working with Controls
Creating Saved Views for Controls
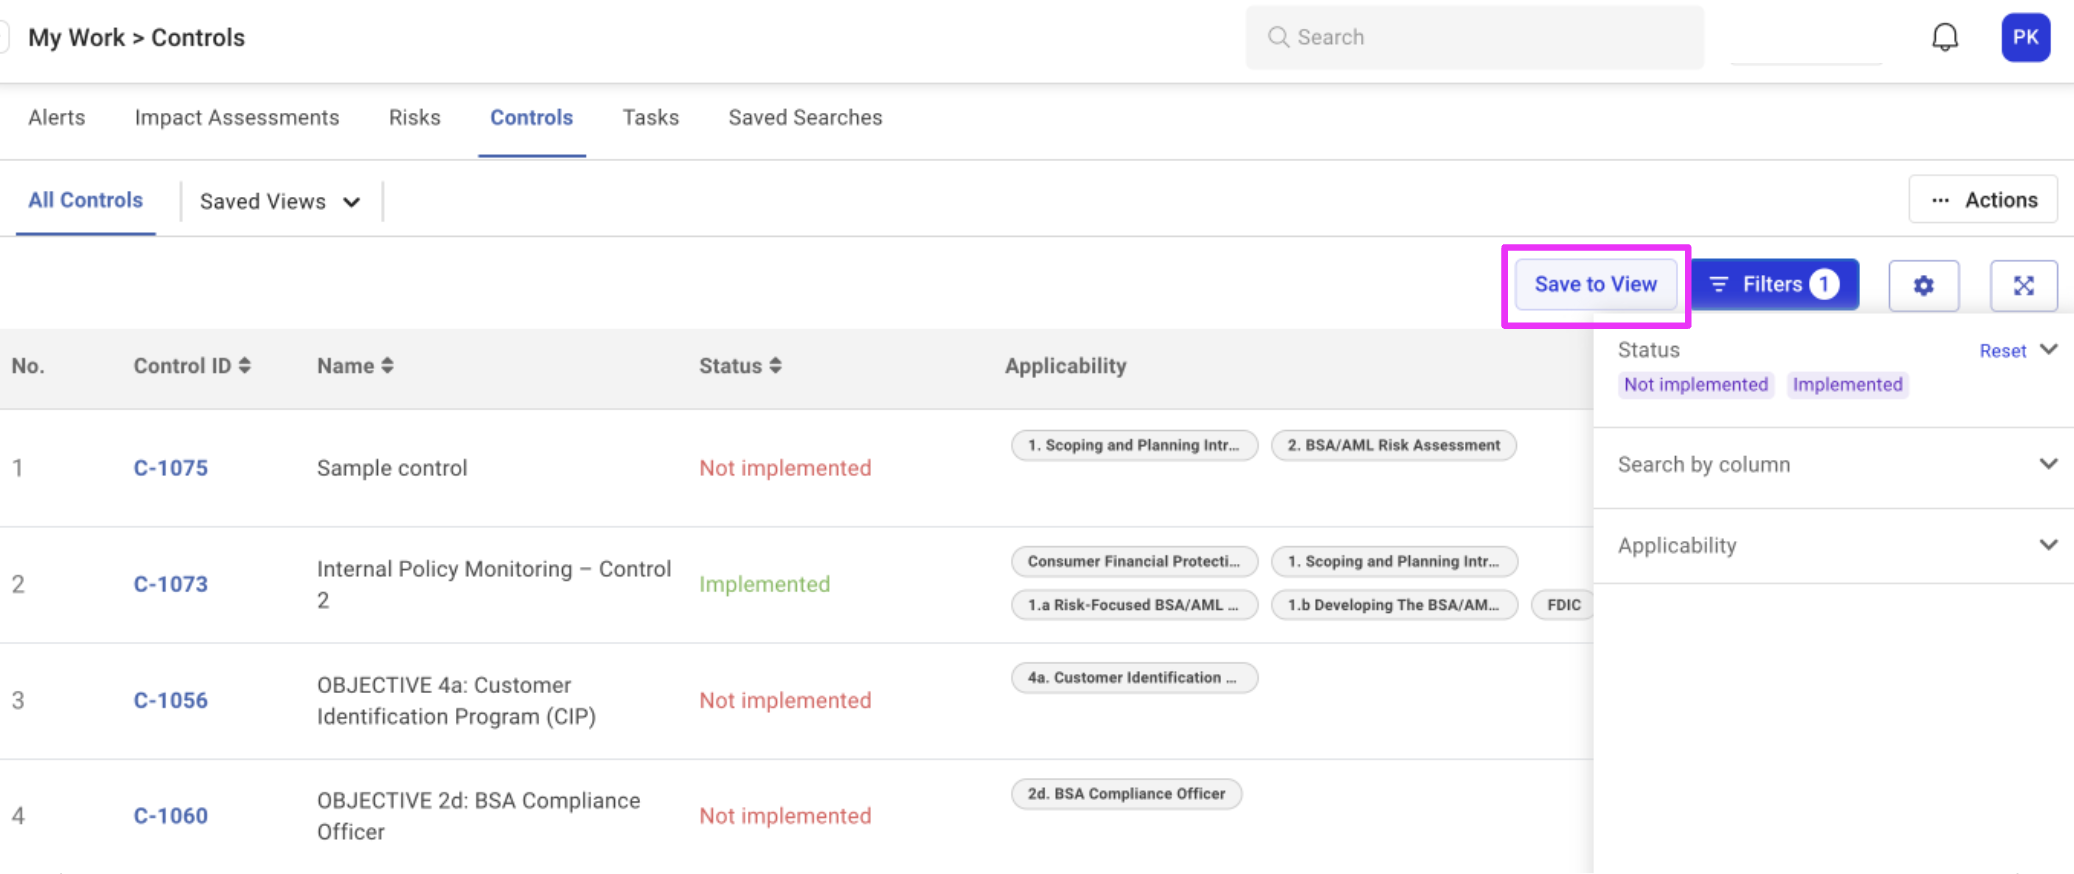
Use filters to list out controls that are of interest to you. Save this set of filters as a saved view, so you can quickly return to this view when you revisit the controls page.
To create a saved view:
Use filters to list out controls that are of interest to you.
Click the Save to View button that appears adjacent to the Filters button.
Give your saved view a name using the Save to View modal that appears.

The saved view now appears as a separate tab in the Controls page.
When you navigate away from the page and return to it later, use the Saved Views drop-down list to select your saved view and reopen the filtered list as a new tab.
Resizing the Controls View
Use the Resize Grid button in the upper-right section of the page to expand the controls view and resize the columns in the saved view.

Use the Layout Settings button to save or reset the layout.

Right-Side Panel Options for Controls
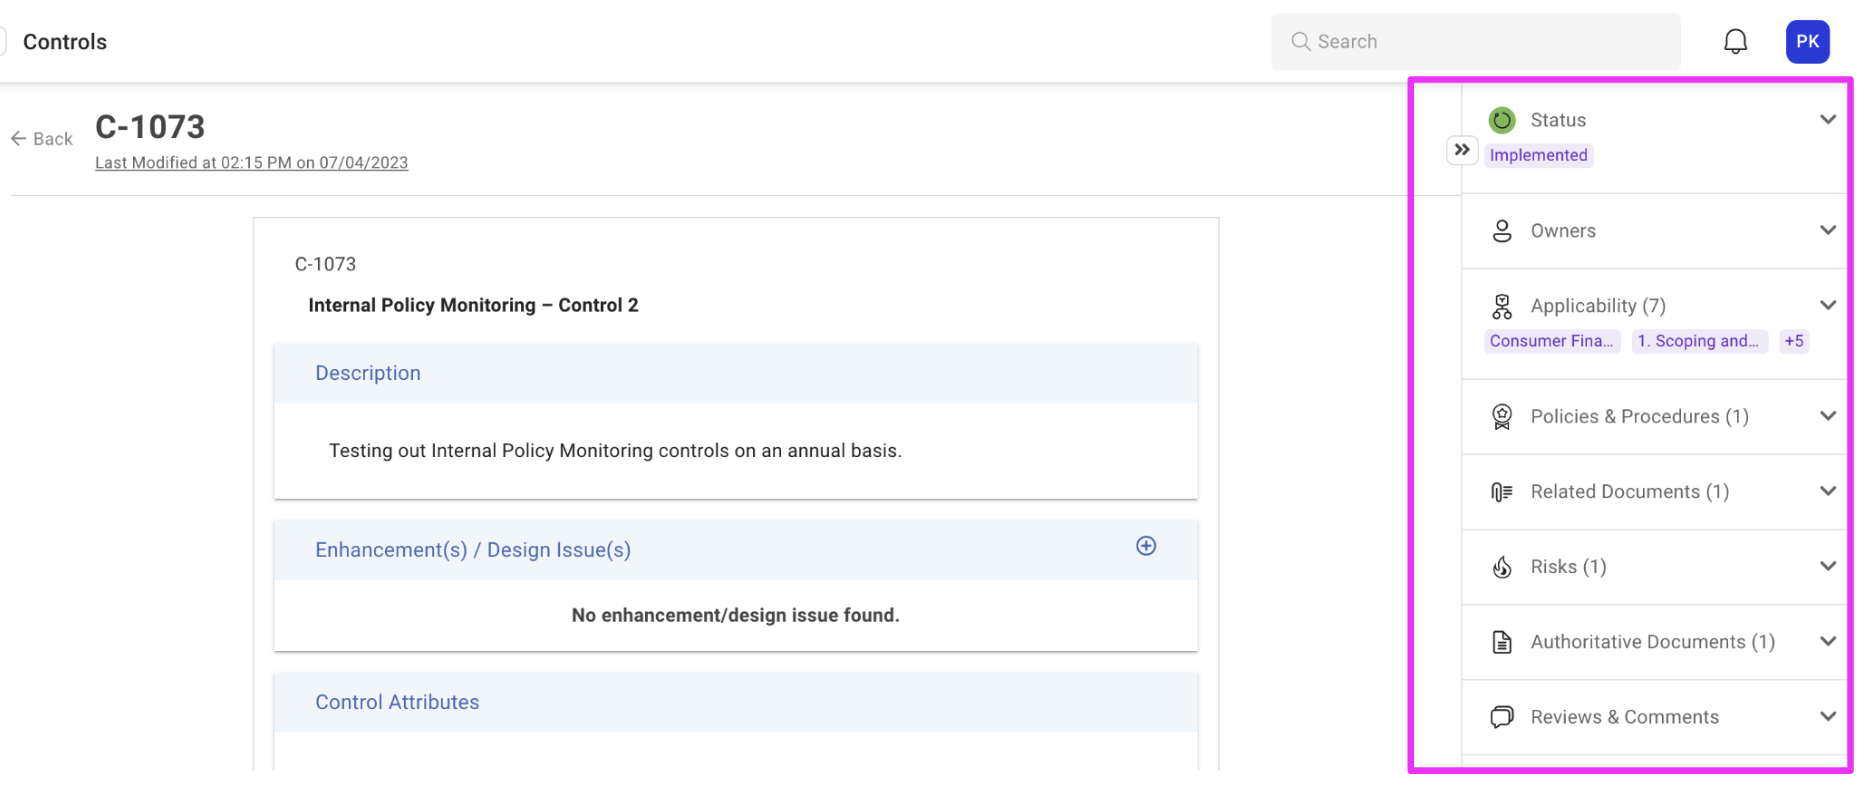
When you open a control, Regology displays a range of options on the right side of the page, which enable you to manage the control efficiently. Click the Expand icon to view these options in detail.
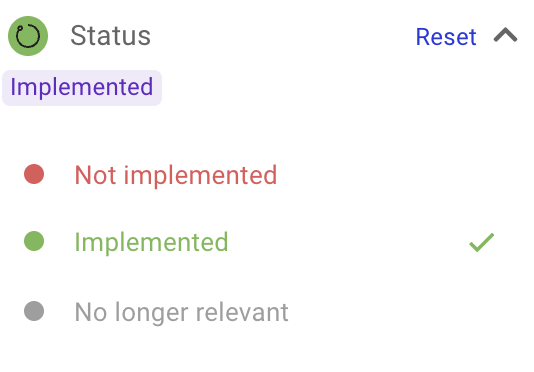
Status
Expand the Status panel to select and assign a status to the control.
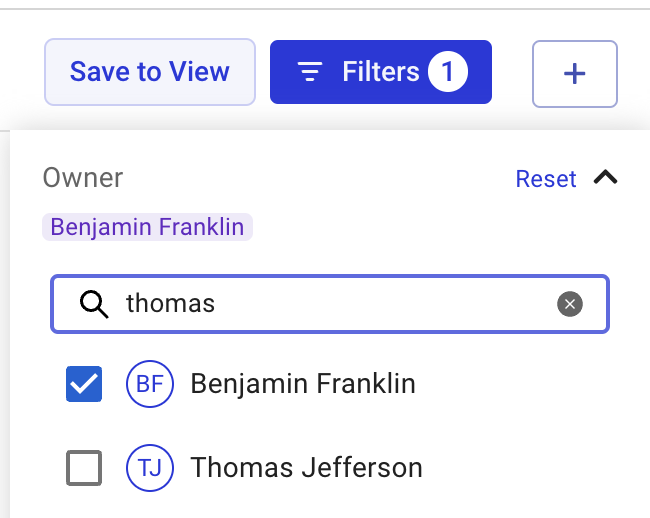
Owners
Expand the Owners section and use the Search field to search and select users to whom you want to assign the control.
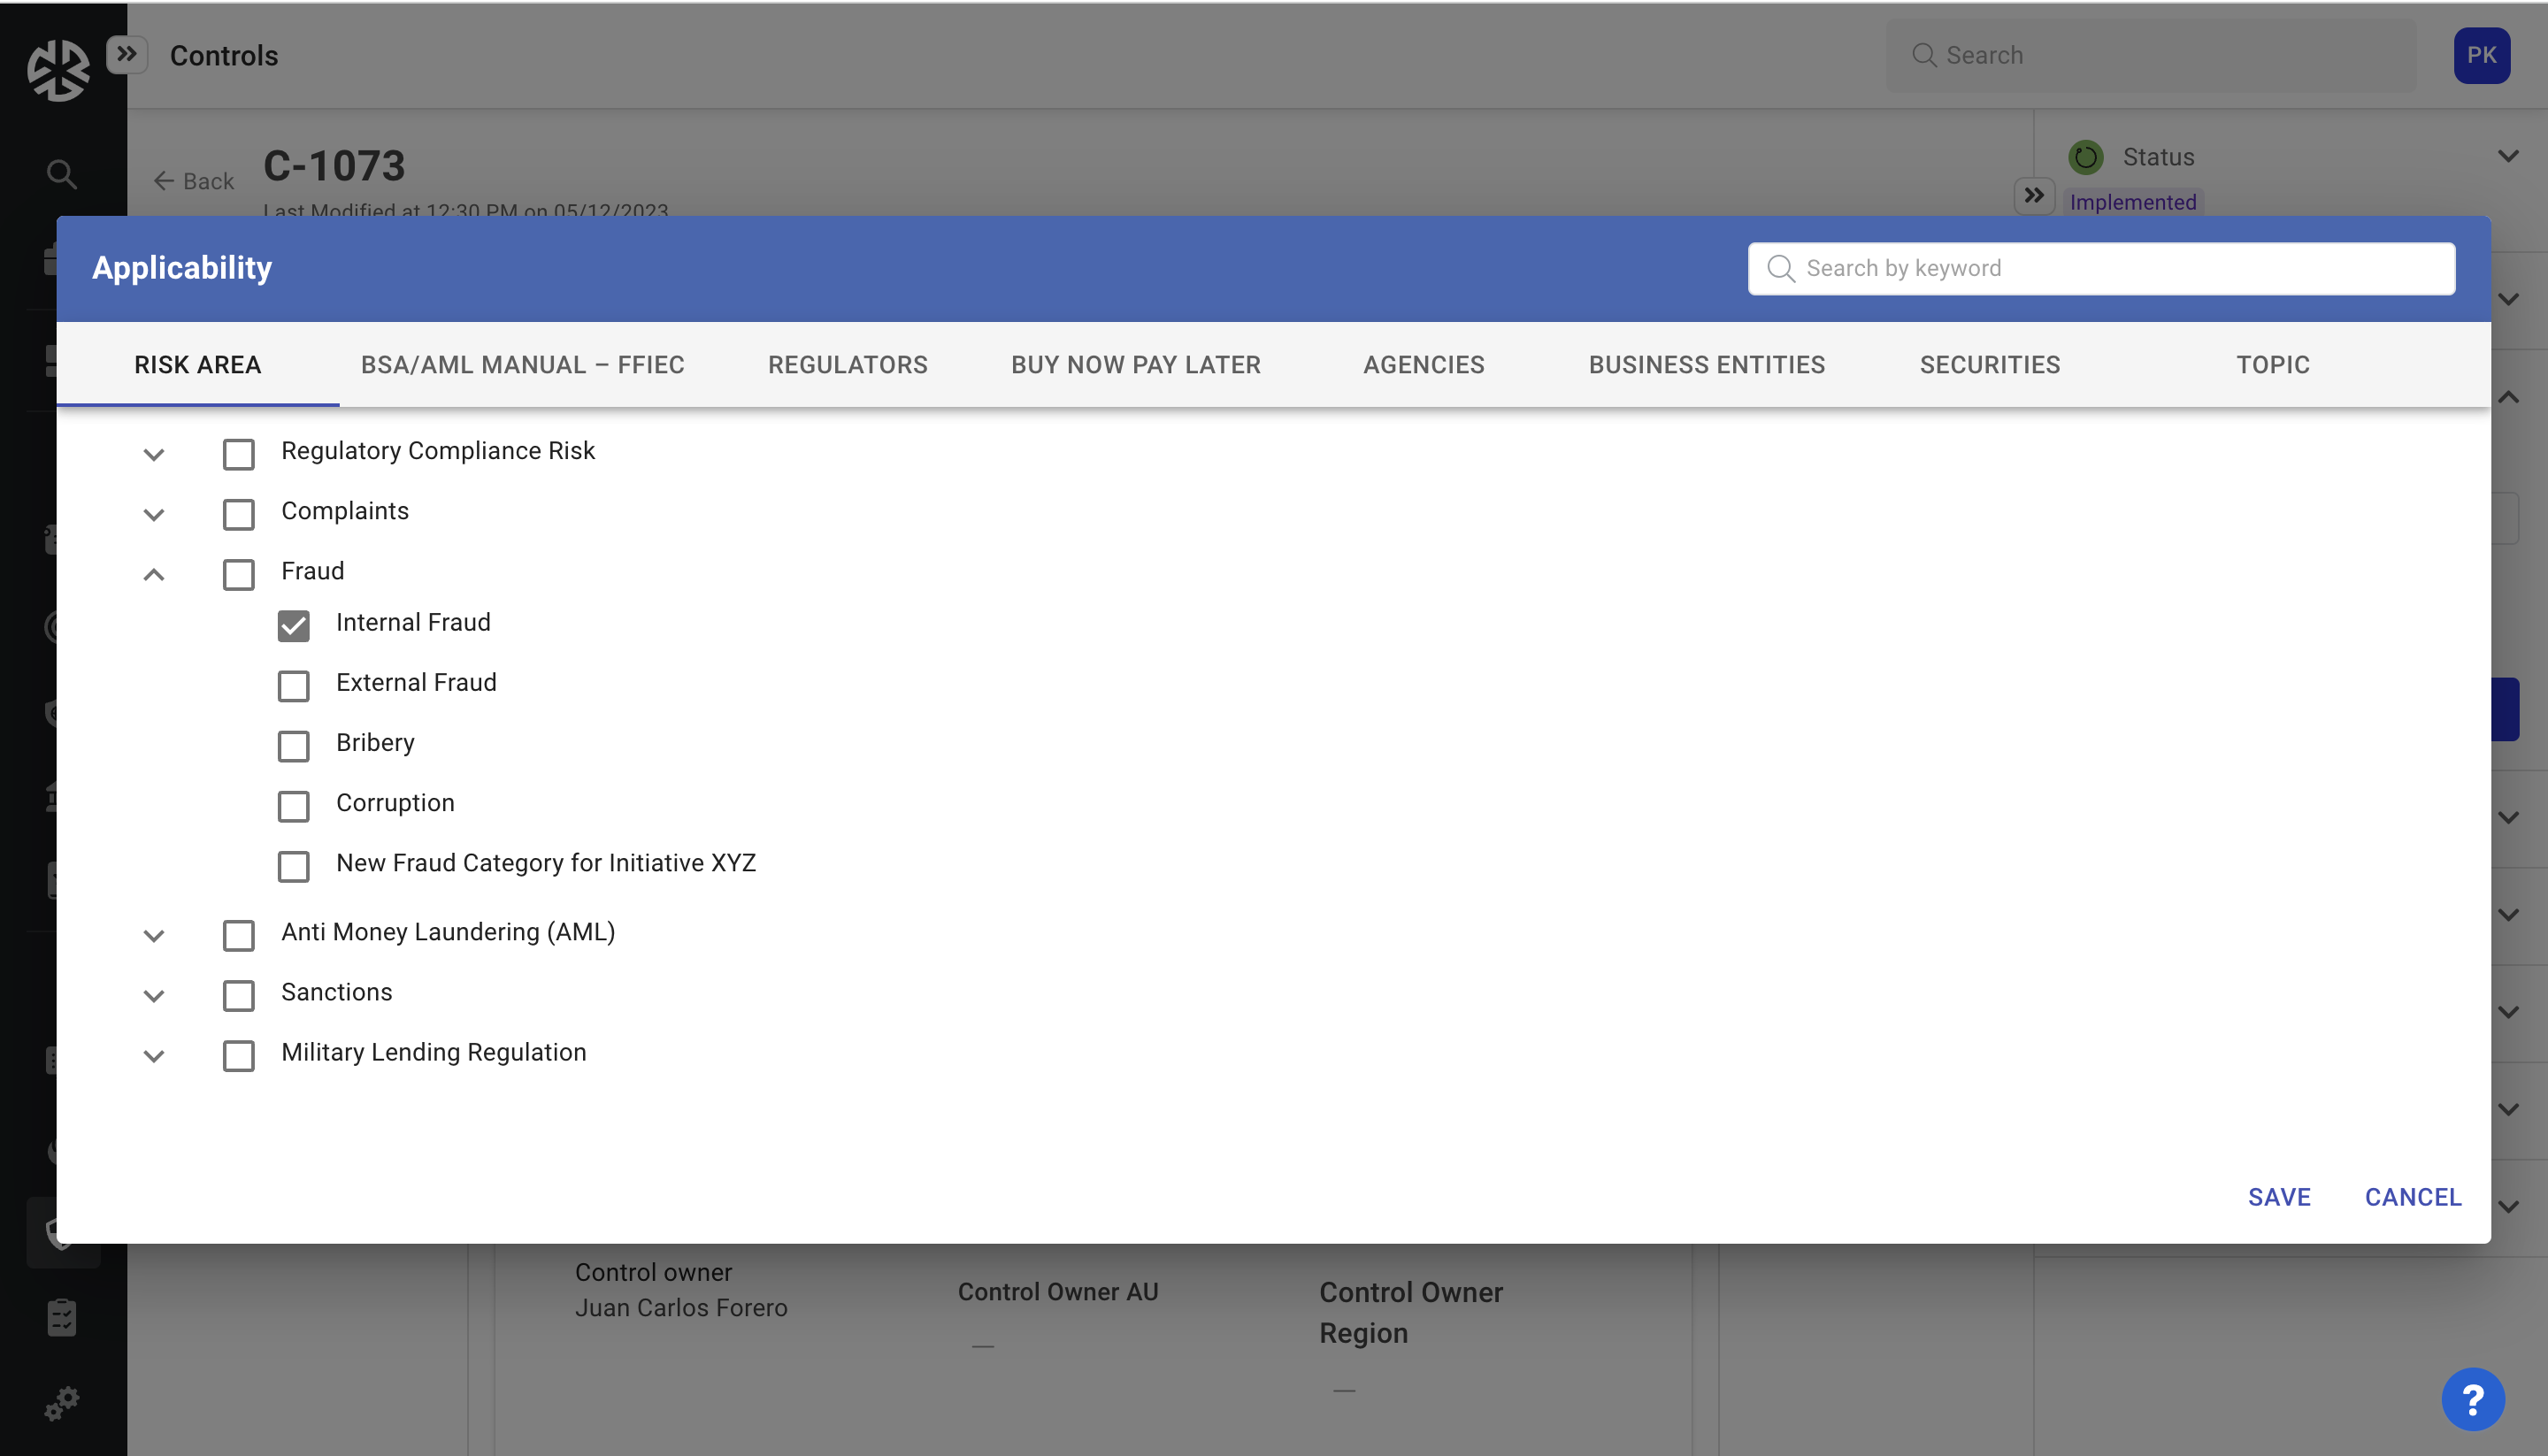
Applicability
Expand the Applicability panel and search and select areas where this policy is applicable.
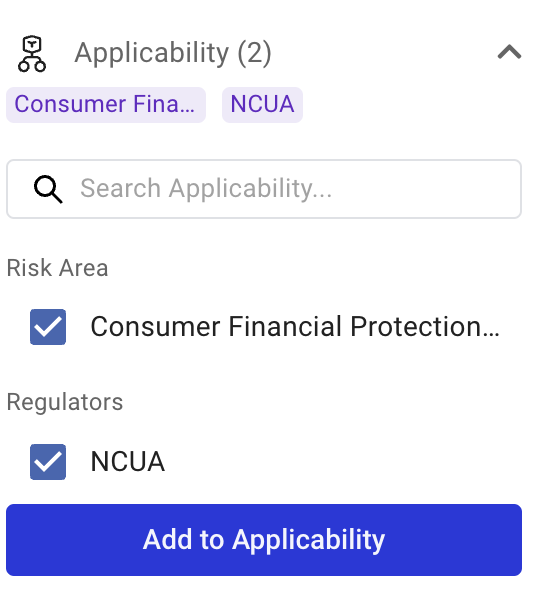
Use the Applicability modal that appears to view and update applicability mappings as appropriate.
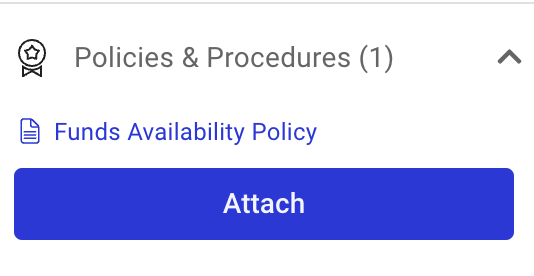
Policies & Procedures
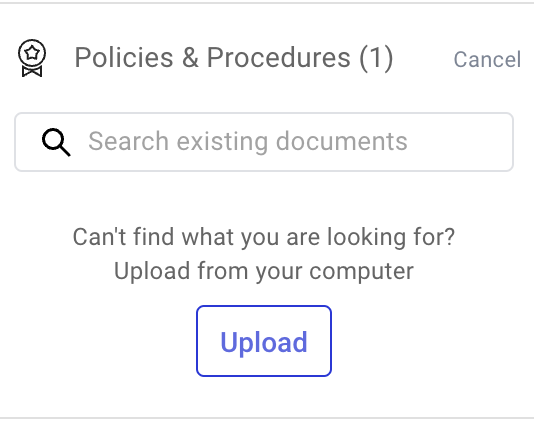
Expand the Policies and Procedures section and click the Attach button to search and add policies and procedures related to the control, or click the Upload button to add and attach a new policy. For guidance on how to add a new policy, see Uploading a Policy.
If you need to upload a new document, click the Upload button. The Upload a Document modal appears.
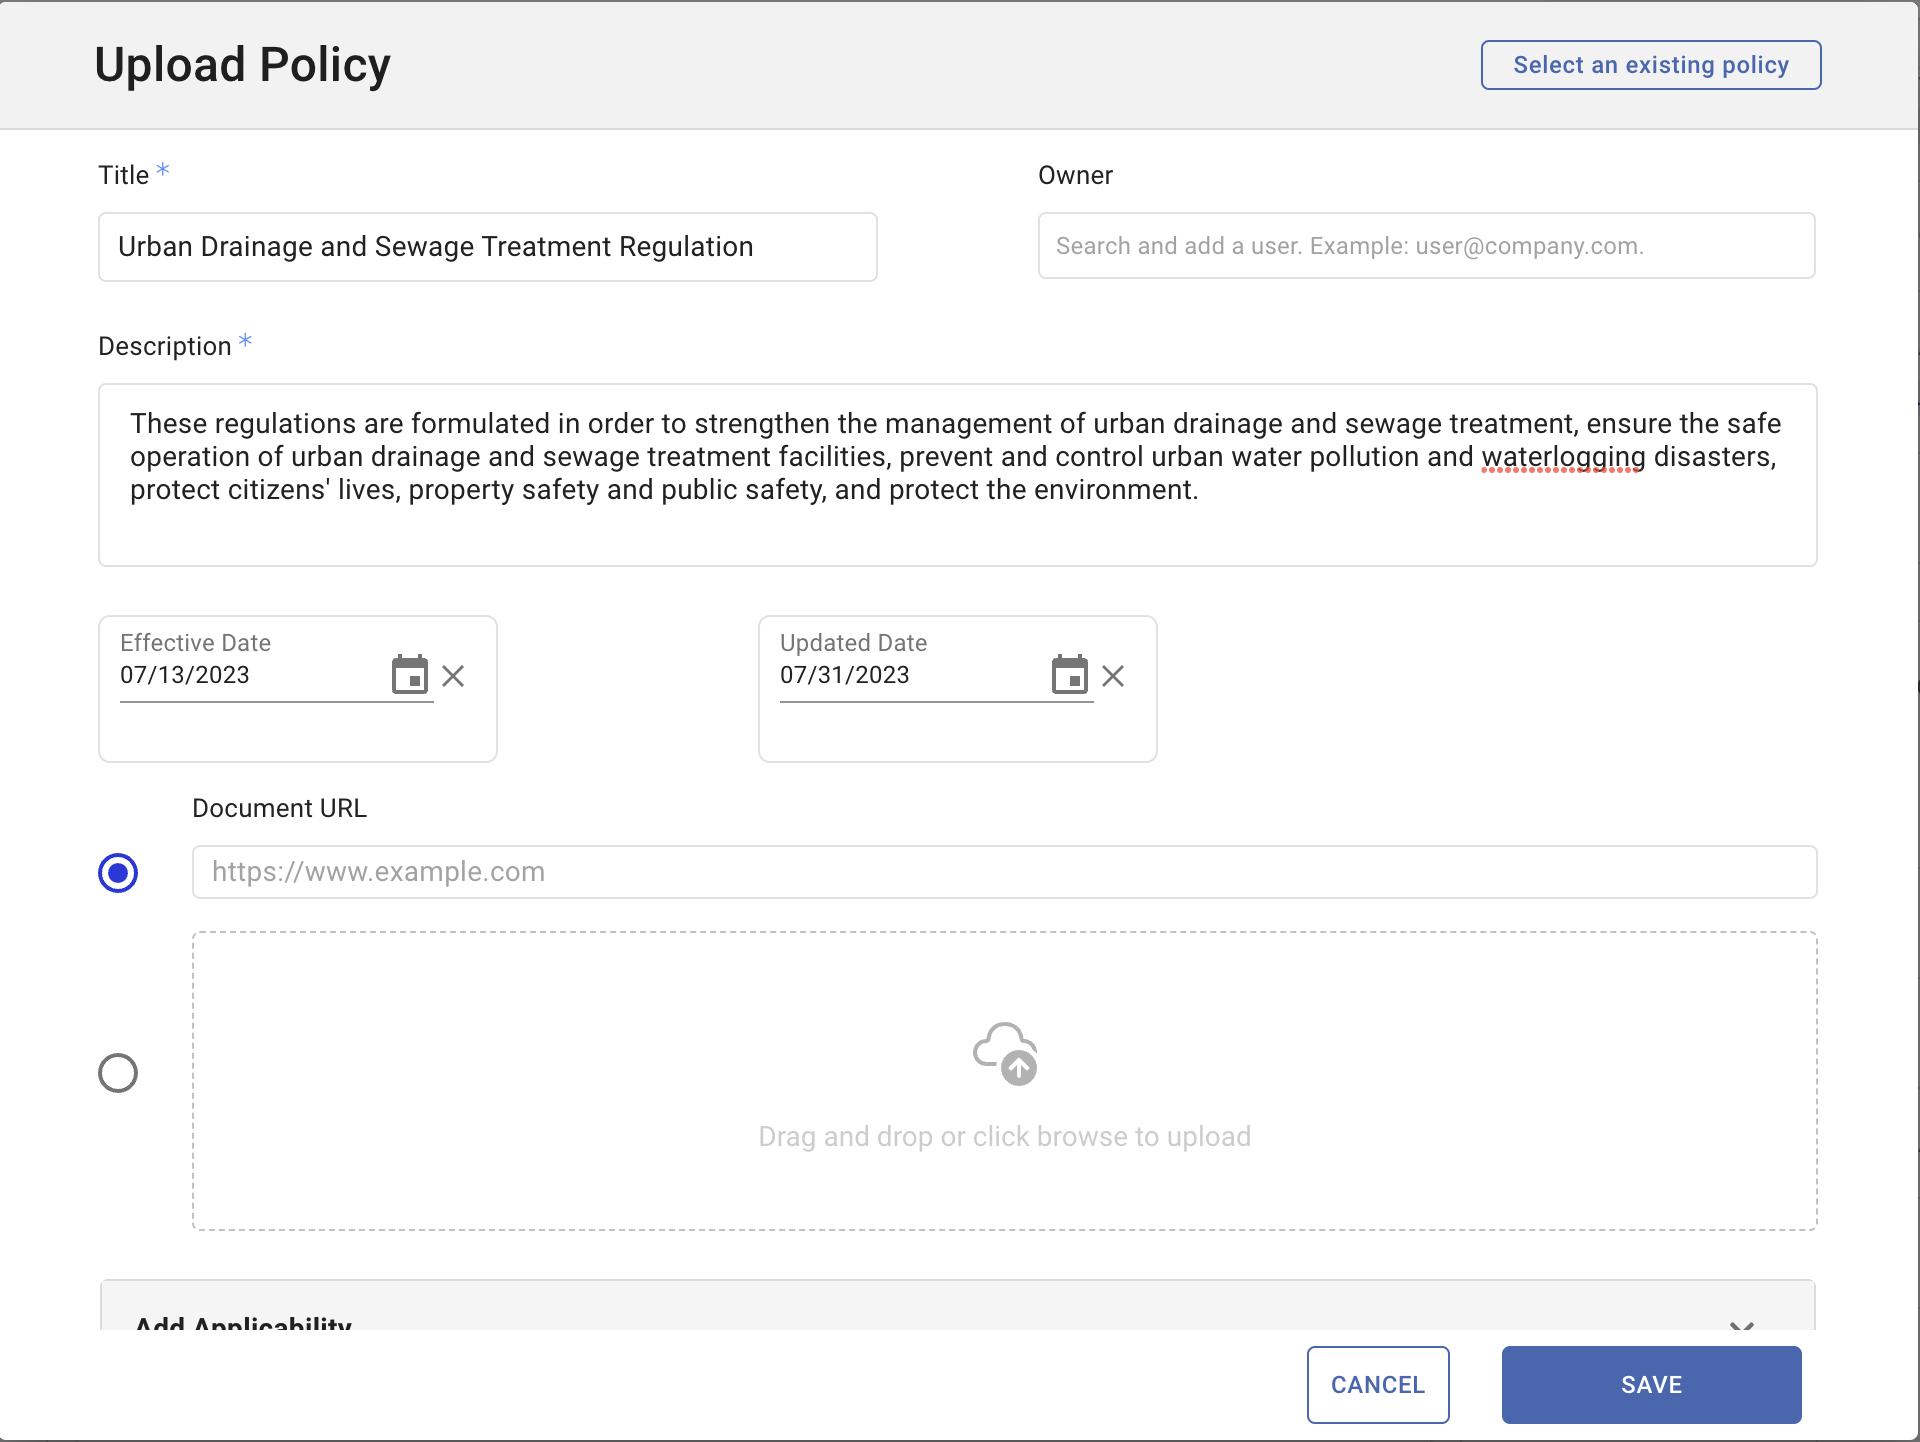
In the Upload a Policy modal:
Provide a Title for the document.
Optionally, search and add an Owner to the document.
Enter a Description of the document.
Specify the Effective Date and Uploaded Date of the document.
Click and specify the Document Type of the document.
If the document is hosted on a web-based server, provide the URL of the document, or browse and select the PDF from your machine.
Click Save.
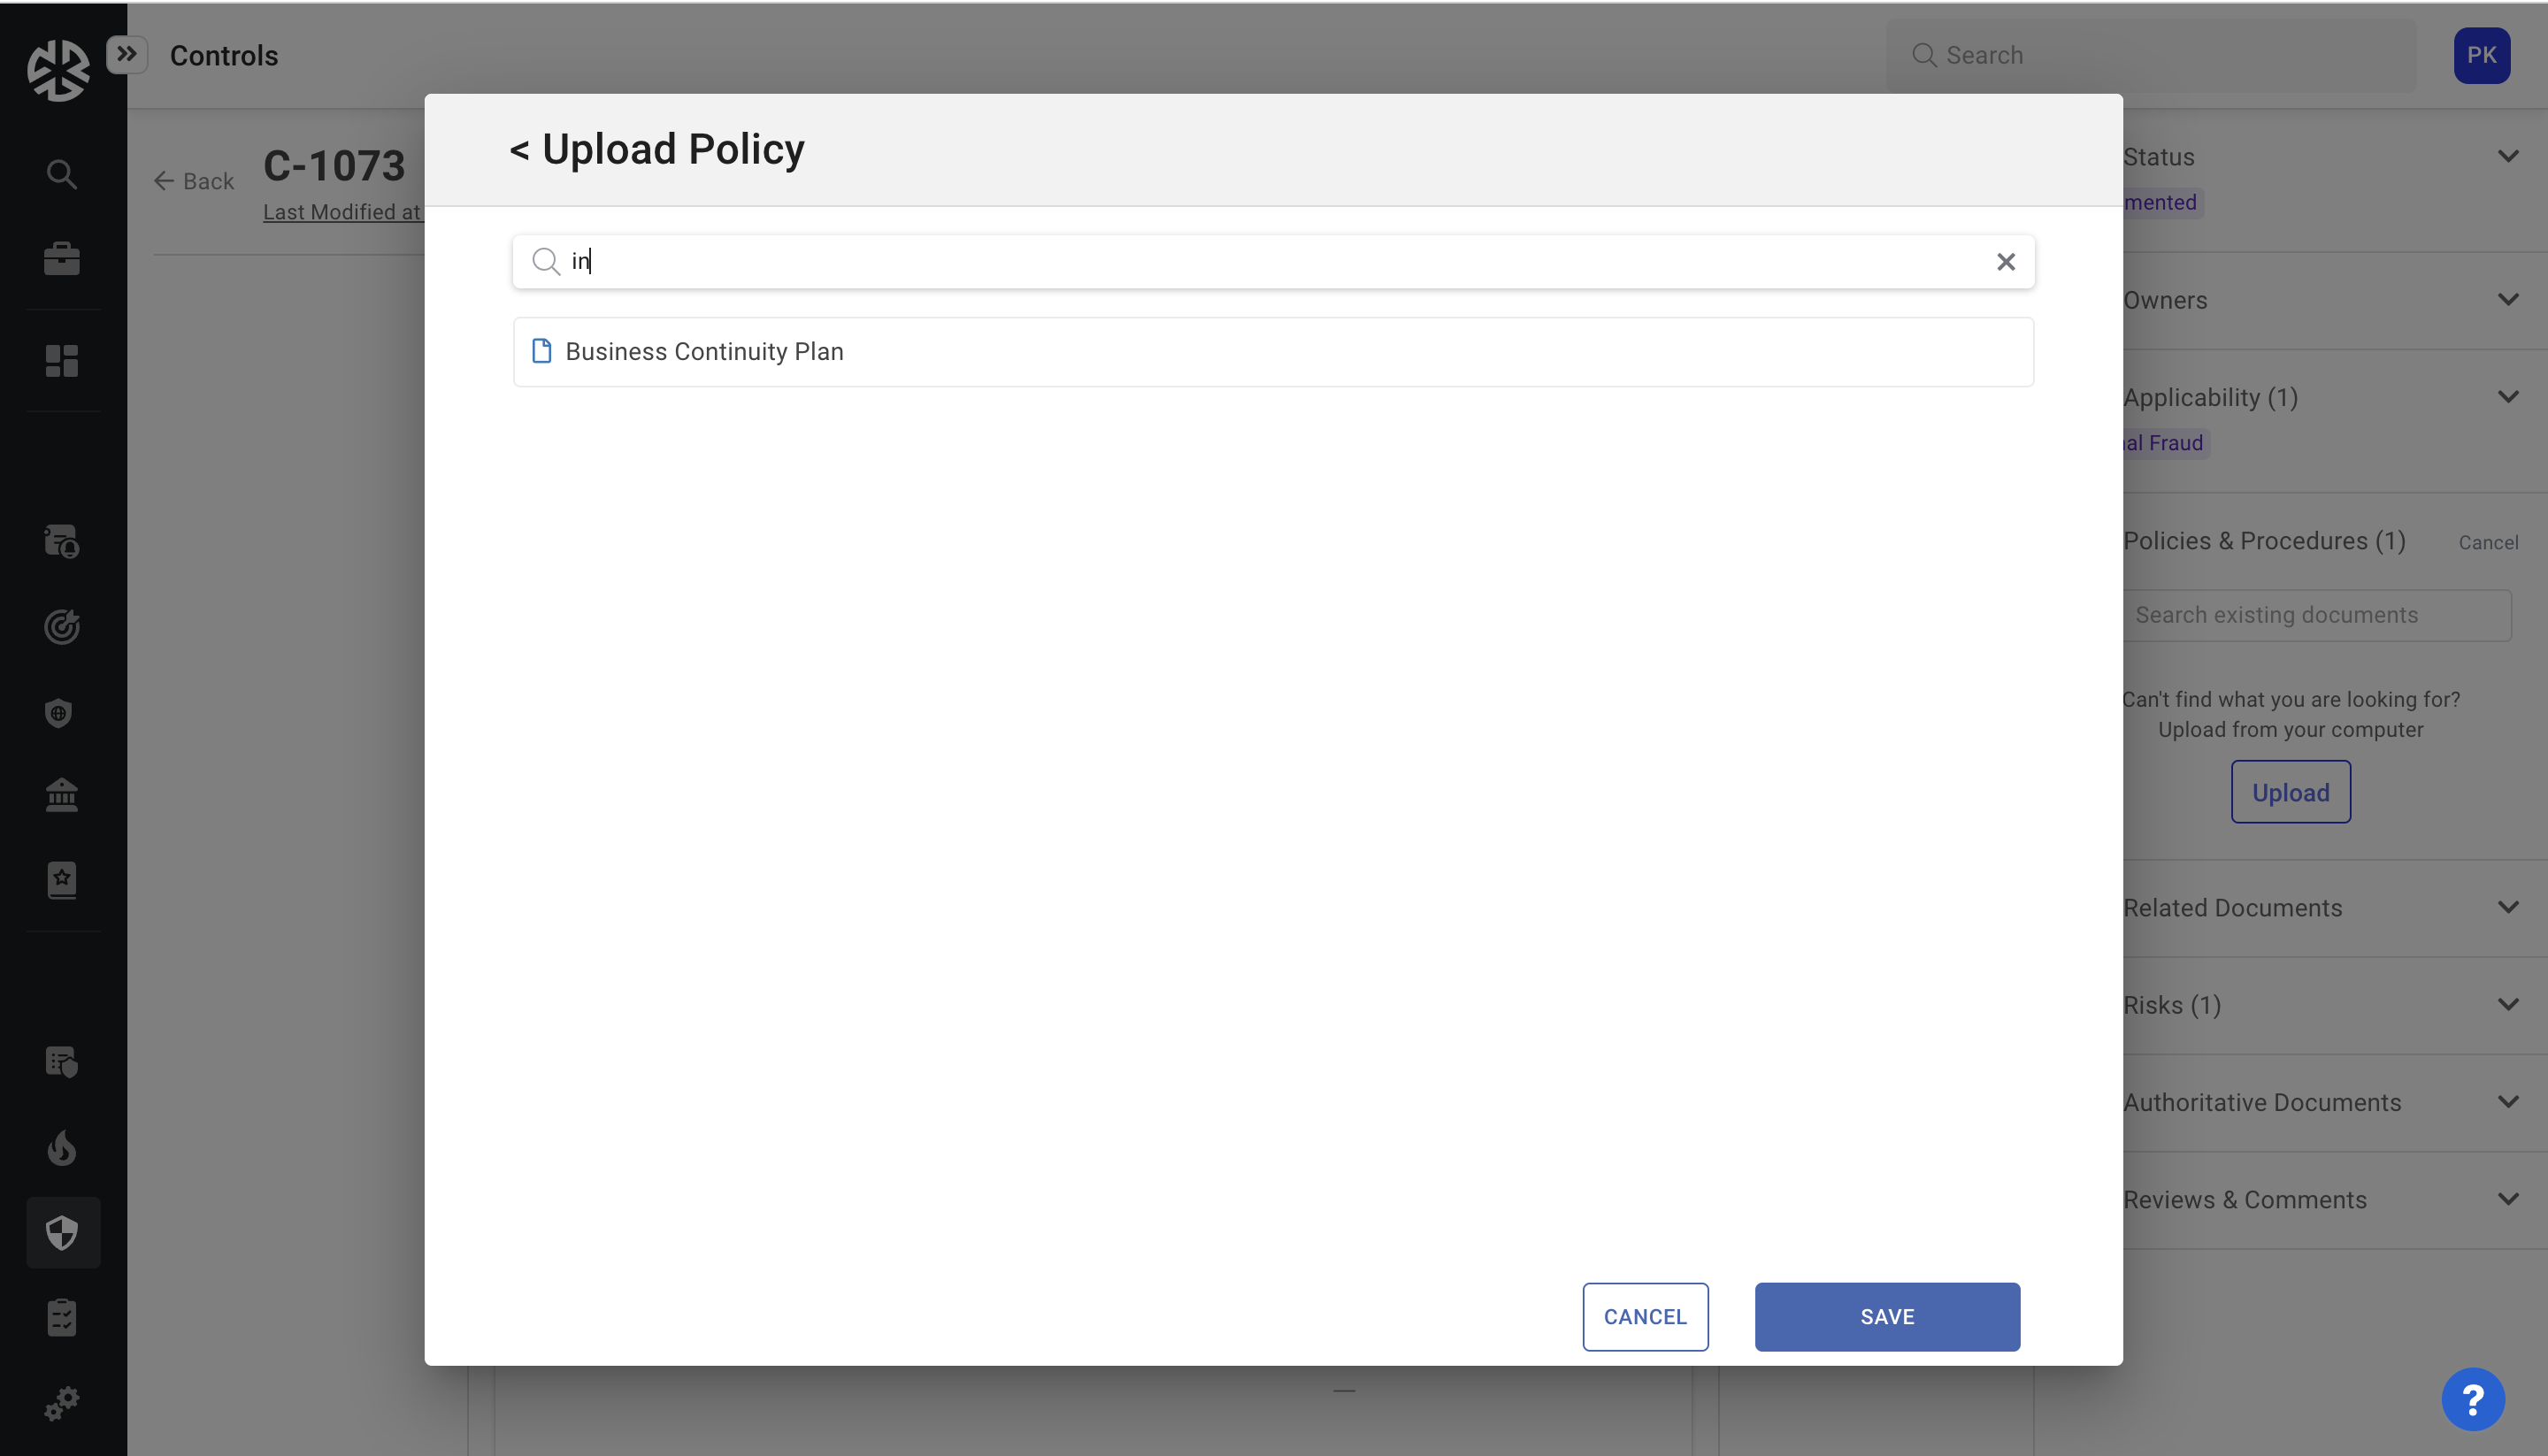
If you need to select an existing policy, click the Select an existing policy button. The Upload Policy modal appears.
Related Documents
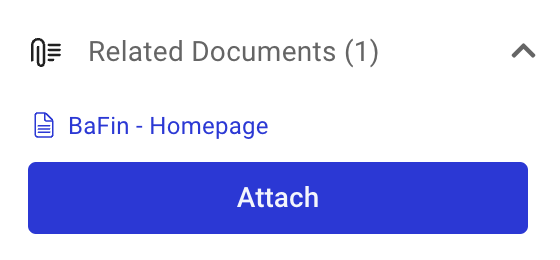
Expand the Related Documents section and click the Attach button to search and add documents related to the control.
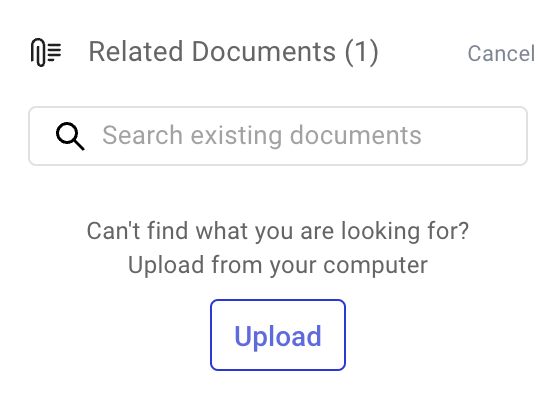
If you need to upload a new document, click the Upload button. The Upload a Document modal appears.
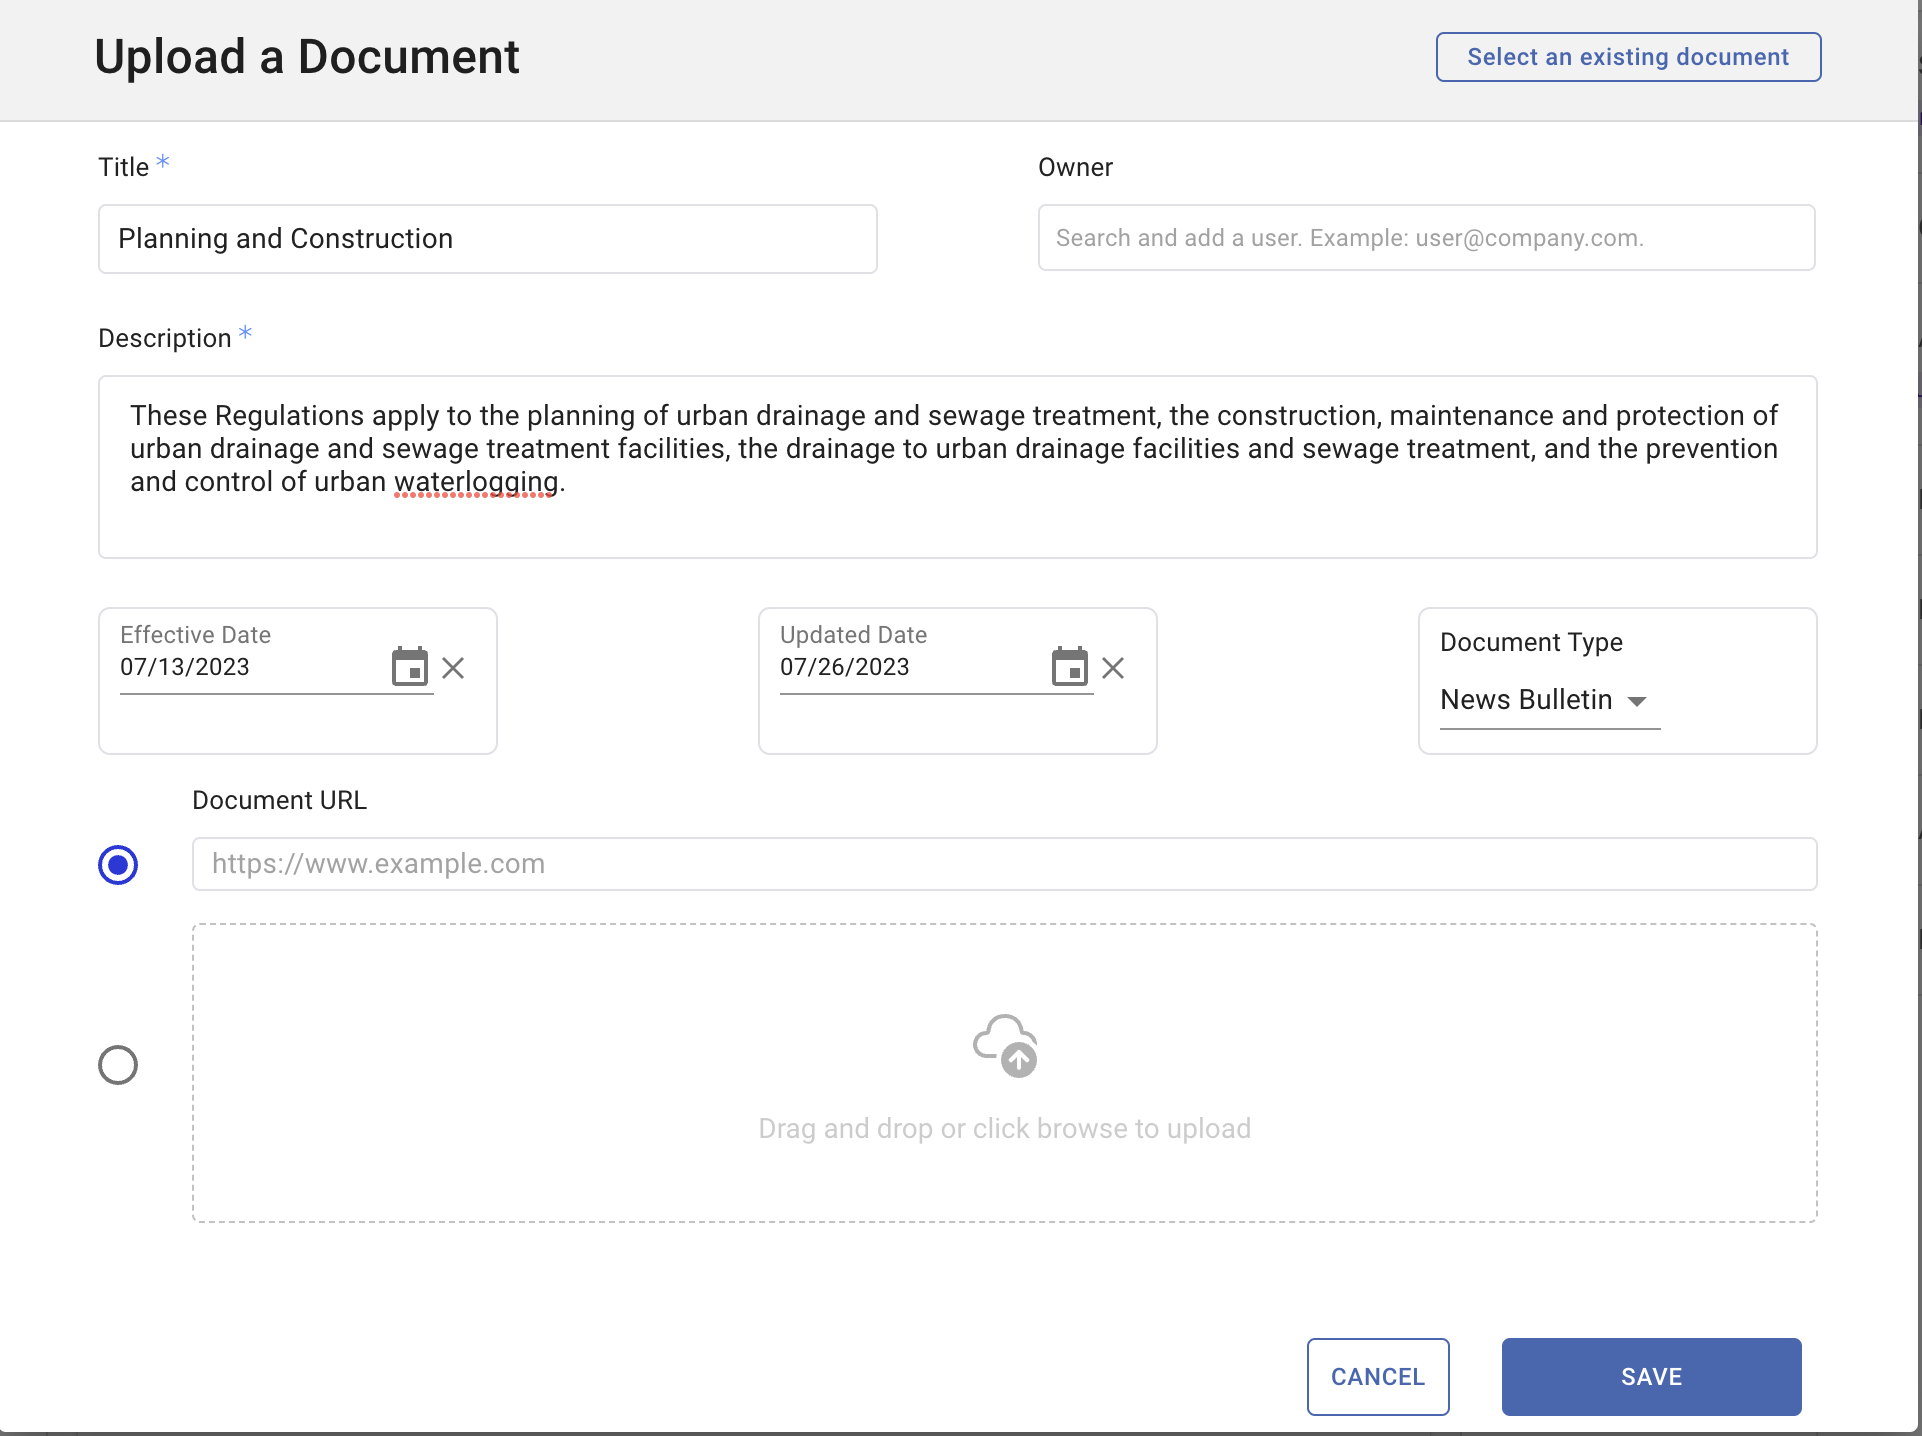
In the Upload a Document modal:
Provide a Title for the document.
Optionally, search and add an Owner to the document.
Enter a Description of the document.
Specify the Effective Date and Uploaded Date of the document.
Click and specify the Document Type of the document.
If the document is hosted on a web-based server, provide the URL of the document, or browse and select the PDF from your machine.
Click Save.
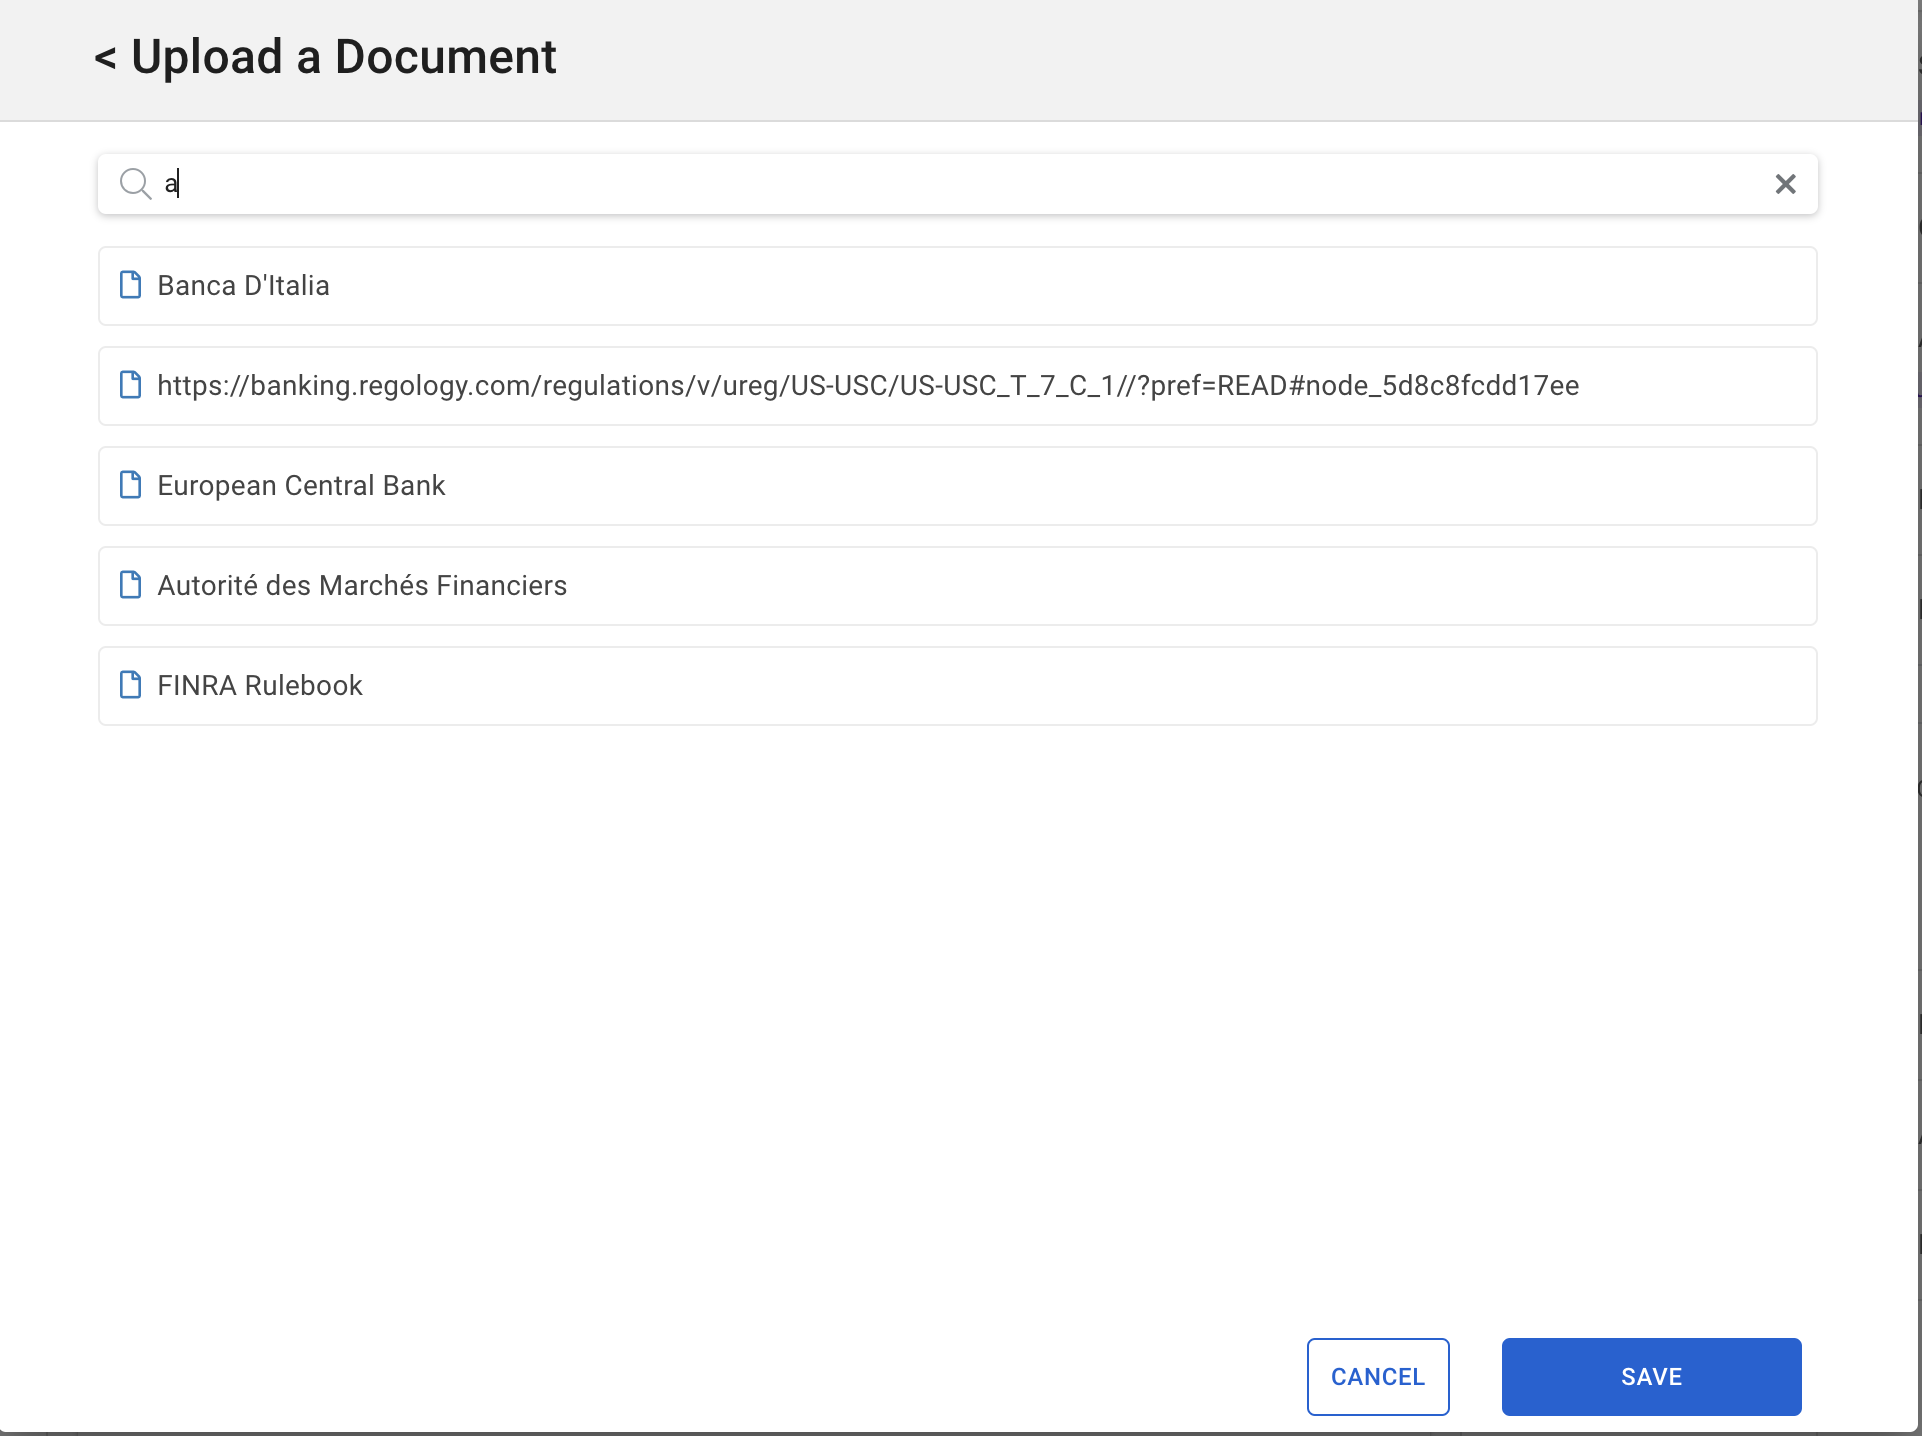
If you need to select an existing policy, click the Select an existing document button. The Upload a Document modal appears.
Risks
Use the Risks panel to view and assign risks to a control.
Click the Risks expandable section in the right panel.
Click the Assign Risk button to display options for assigning risks to the Authoritative Document.
Use the Search and add a risk field to select risks already uploaded to Regology, or click Create to add a new risk. The Create Risk > Create Control modal appears. For details on working with this modal, see Creating Risks.
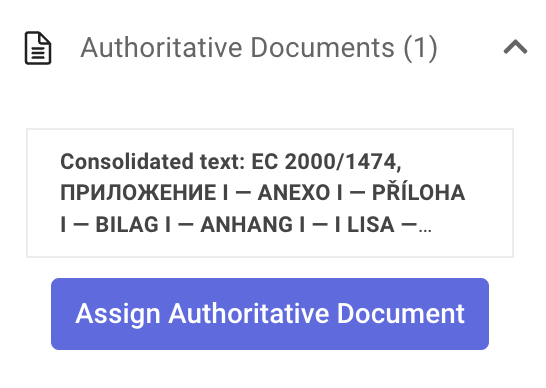
Authoritative Documents
Expand the Authoritative Documents panel, click Assign Authoritative Document, and use the Search field to search and add an Authoritative Document. You can similarly assign as many Authoritative Documents to a control as required.
Review & Comments
Expand the Review & Comments section to view comments made on the control. You can also Reply to the comment as required.
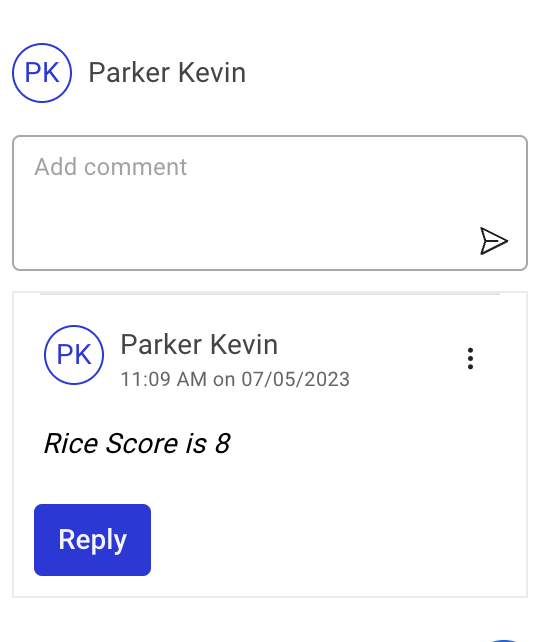
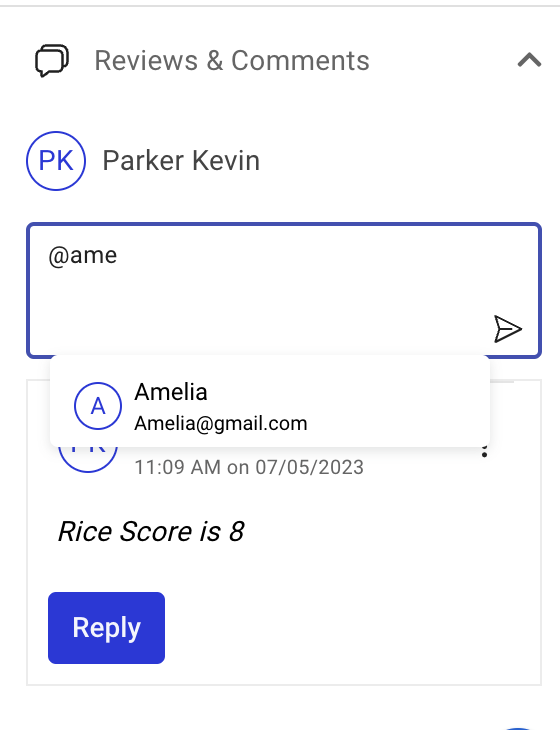
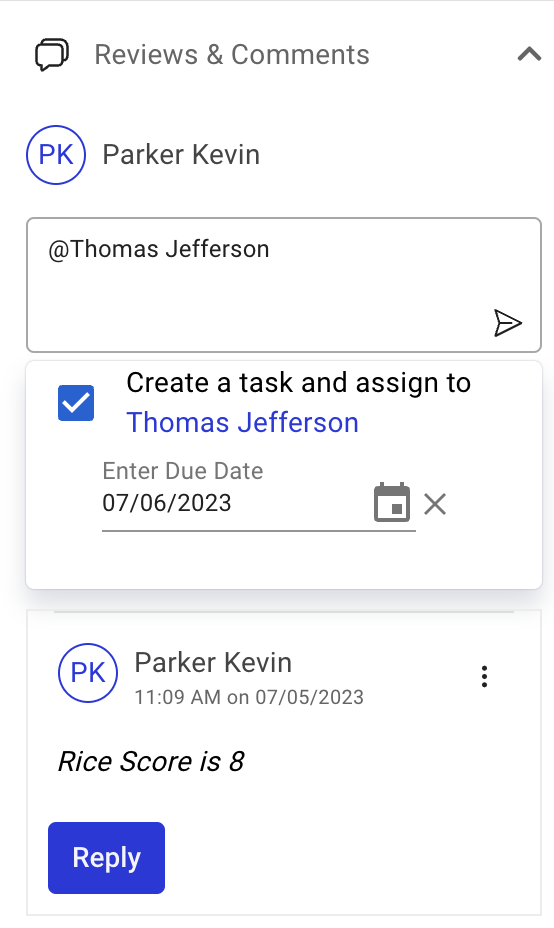
Use the Add comment text box to add a new comment and click the Save icon. This allows you to Comment on a control. While creating or replying to a comment, you can tag people using the '@' prefix. Once a user is tagged in a comment, you can also assign the control to them as a task using the Create a task and assign to… check box.