Filtering Alerts
Use the Filters button in the top-right section of the Alerts page to view alerts that match specific criteria. You can use a combination of alerts to flexibly filter the alerts displayed.
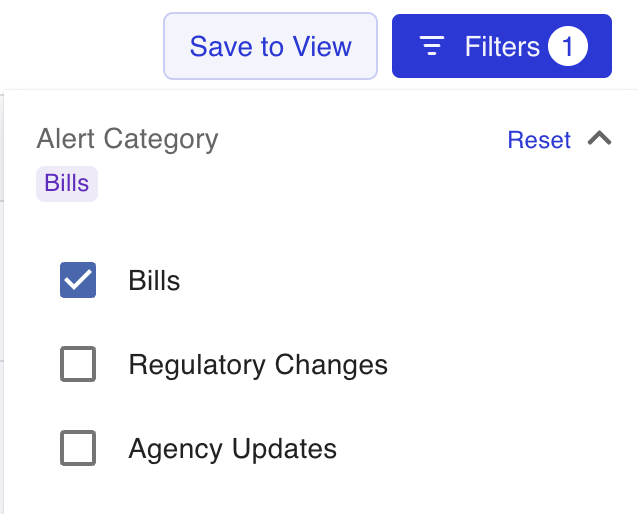
Filter by Alert Category
Use the Alert Category expandable section to filter your alerts by Bills, Regulatory Changes, or Agency Updates.
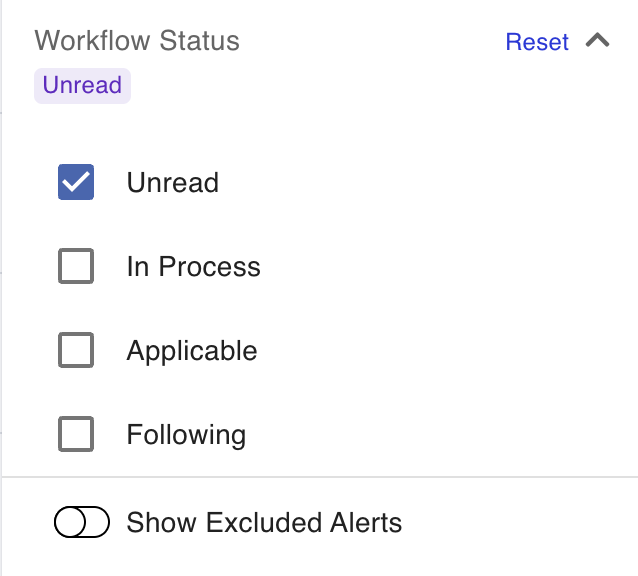
Filter by Workflow Status
Use the Workflow Status expandable section to filter Unread, In Process, or Applicable alerts. Turn on the Show Excluded Alerts to view alerts that have been excluded.
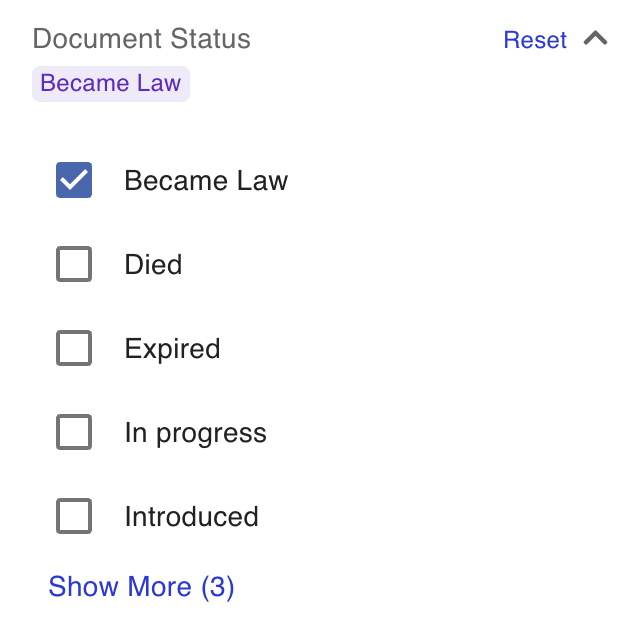
Filter by Document Status
Use the Document Status expandable section to filter alerts based on the status of the documents with which they are associated. For example, you can use this section to view all alerts which are associated with documents that became law, were introduced, were sent for signature, and so on.
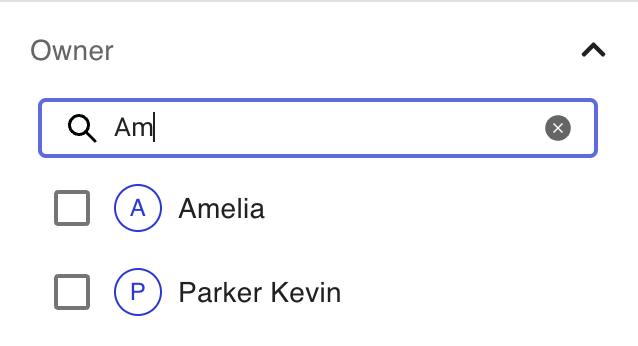
Filter by Owner
Use the Owner expandable section to filter alerts by their owners. Search for owners using the Search Users/Groups field and select the owner users or groups from the search results that appear. The Alerts page refreshes to display the list of alerts that are assigned to the users or groups you selected.
Click Reset to clear your current search and try again.
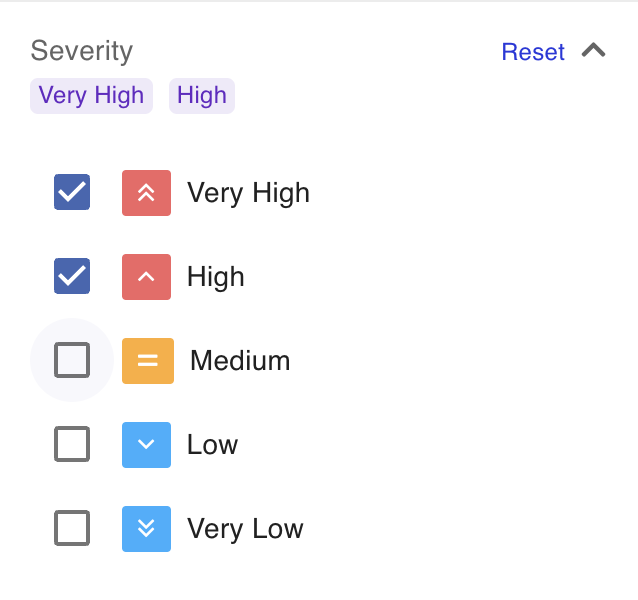
Filter by Severity
Use the Severity expandable section to filter alerts by severity. Choose from the severity options available to view alerts that have been assigned the selected severity.
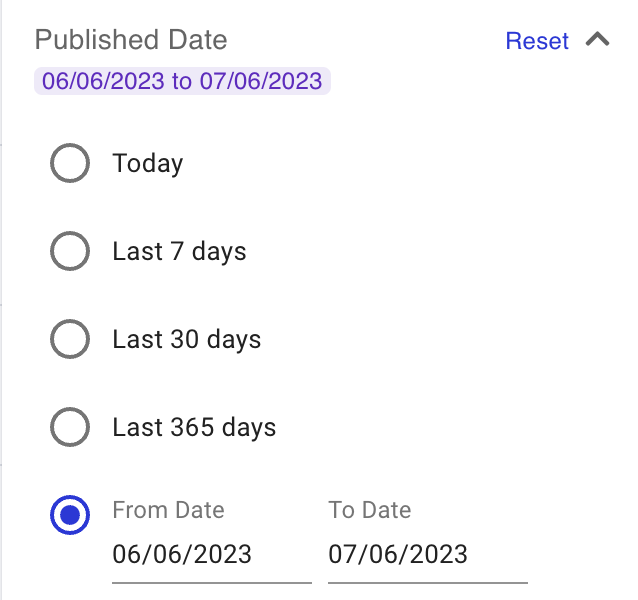
Filter by Published Date
Use the Published Date expandable section to filter alerts by the date on which they were published. Choose from the following options:
Today: Displays alerts that were published on the current day.
Last 7 days: Displays alerts that were published in the current week.
Last 30 days: Displays alerts that were published in the current month.
Last 365 days: Displays alerts that were published in the current year.
You can also use the From Date and To Date fields to select specific dates to view alerts that were published during that period.
Click Reset to clear your current search and try again.
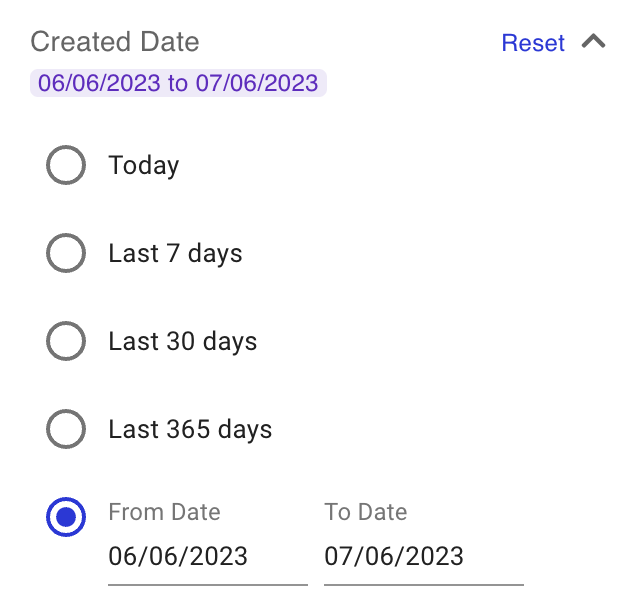
Filter by Created Date
Use the Published Date expandable section to filter alerts by the date on which they were created. Choose from the following options:
Today: Displays alerts that were created on the current day.
Last 7 days: Displays alerts that were created in the current week.
Last 30 days: Displays alerts that were created in the current month.
Last 365 days: Displays alerts that were created in the current year.
You can also use the From Date and To Date fields to select specific dates to view alerts that were created during that period.
Click Reset to clear your current search and try again.
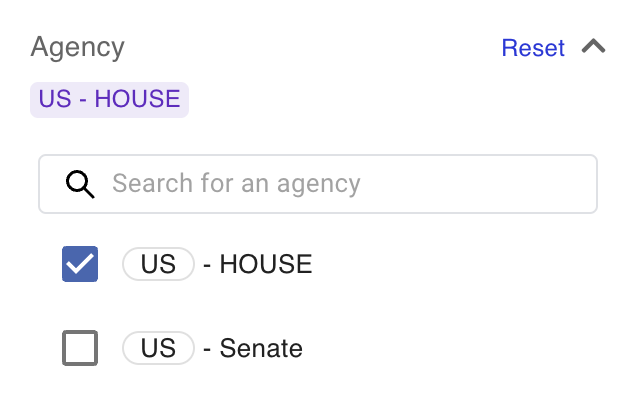
Filter by Agency
Use the Agency expandable section to filter alerts by the agencies that created them. Search for an agency and select the ones that are relevant to your requirement to view related alerts.
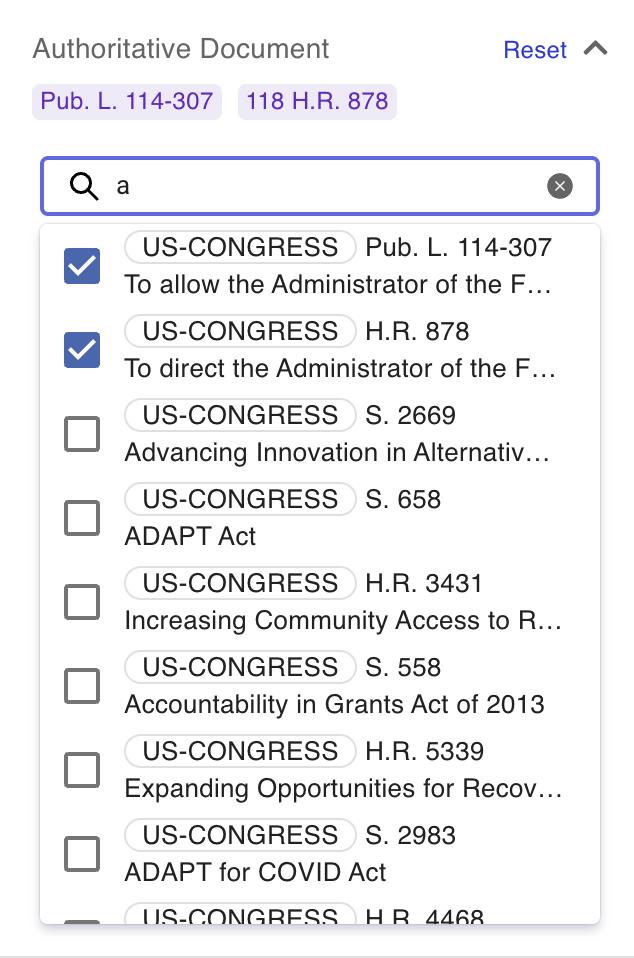
Filter by Authoritative Document
Use the Authoritative Document expandable section to view alerts associated with a specific Authoritative Document.
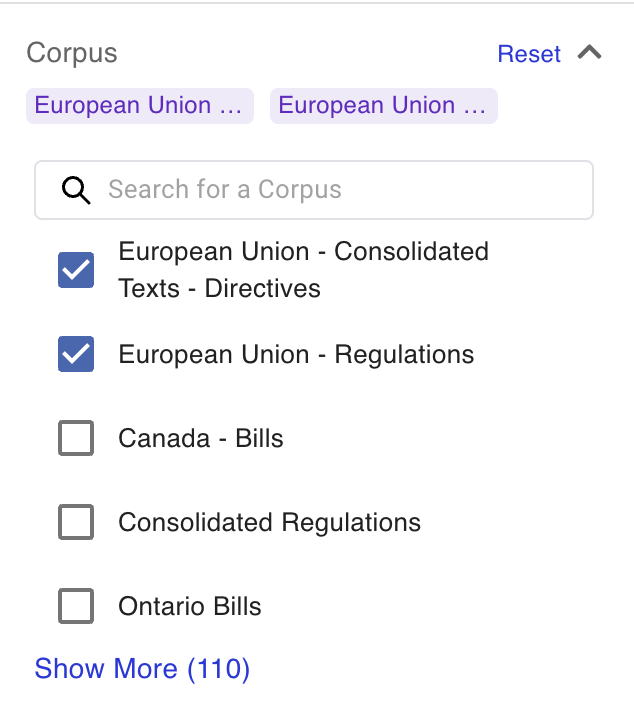
Filter by Corpus
Use the Filter by Corpus expandable section to search for alerts associated with specific corpuses.
Filter by Jurisdiction
Use the Jurisdictions expandable section to view filters associated with specific countries. Search for a country or state, or use the Search Jurisdiction field.

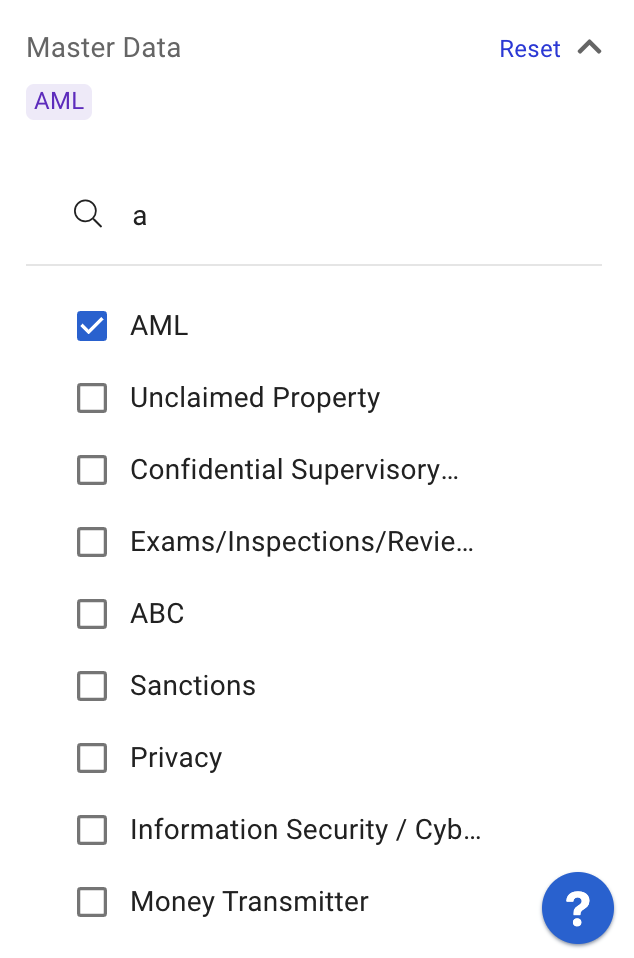
Filter by Master Data
Use the Master Data expandable section to view filters associated with specific master data. Use the Search Master Data field to select specific kinds of data, or use the Risk Area and Topic sections to identify specific risk area and optic filters.
Saving Filters as Views
Regology enables you to save your custom set of filters as a view, so you can easily access it when needed. When you save a set of filters as a view, Regology adds a new tab to your Alerts view, and you can access that tab to apply your selected filters on alerts available to you.
To save a filter as a view:
Select the filters that you need to apply and click the Save to View button at the top of the list of filters. The Save to View modal appears.
Enter a name for the view and click Create. The filtered list of alerts appears as a tab in your Alerts view. You can now click this tab to apply your selected filters on alerts available to you.
Updating Saved Filters
To update a set of filters saved as a view:
Click the tab that contains your filtered list of alerts and click the Filters button in the upper-right section of the page. The list of available filters appears with your selections in place.
Update the filters as required.
Once you are satisfied with your new set of filters, click the Update View button at the top of the list of filters.
Managing Filtered Views
Regology enables you to pin, share, copy, rename, or delete your filtered views as required. To access these options, click the … Actions button in the top-right corner of the page.
Pin/Unpin: Use this option to pin and unpin the saved view as a tab at the top of the platform. You can pin a maximum of four saved views.
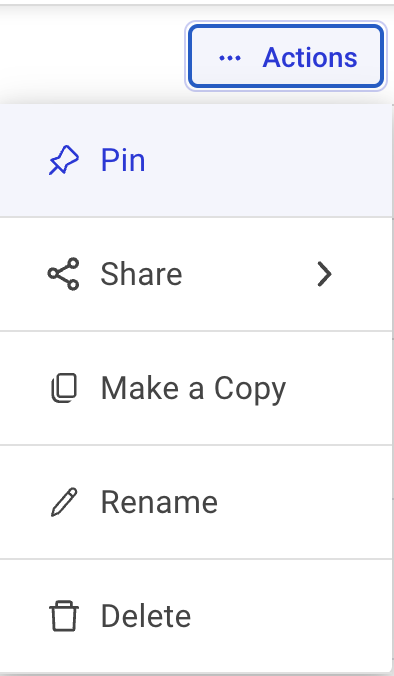
Share: This option allows you to share the saved view with other users.
Enter and select the users with whom you want to share the filter and choose their access level (Editor or Viewer).
If you provide Editor access to another user, they can further add users who can edit or view your saved view.
Click on the Share button.

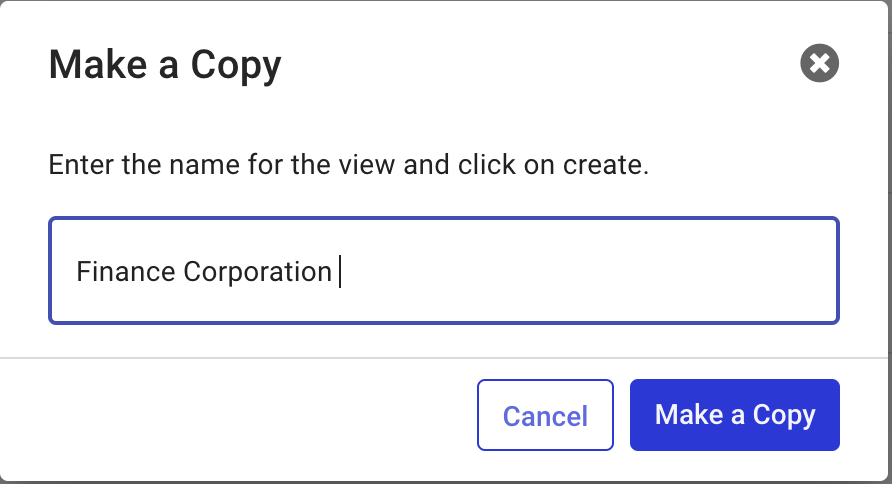
Make a Copy: Use this option to make a copy of the saved view with a new name.
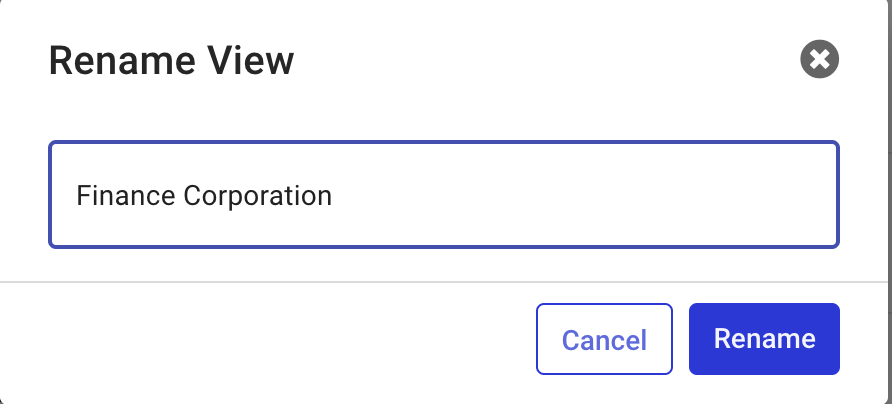
Rename: This option allows you to rename the saved view.
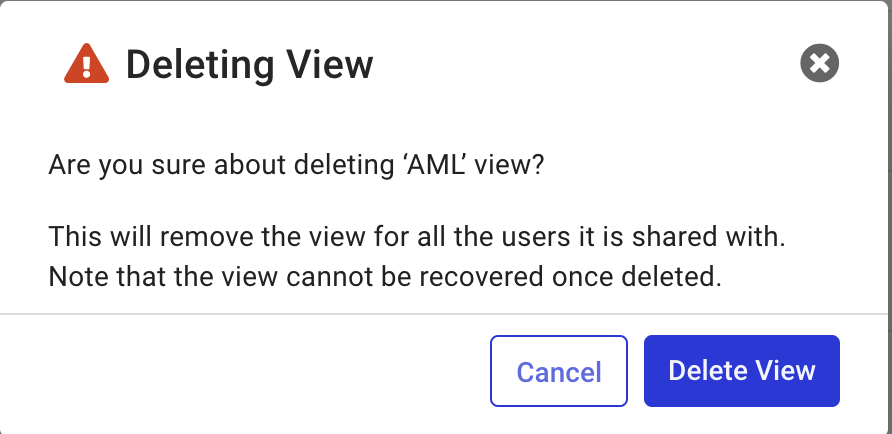
Delete: This option allows you to delete the saved view.