Creating a Custom Dashboard
You can create a new dashboard in two ways:
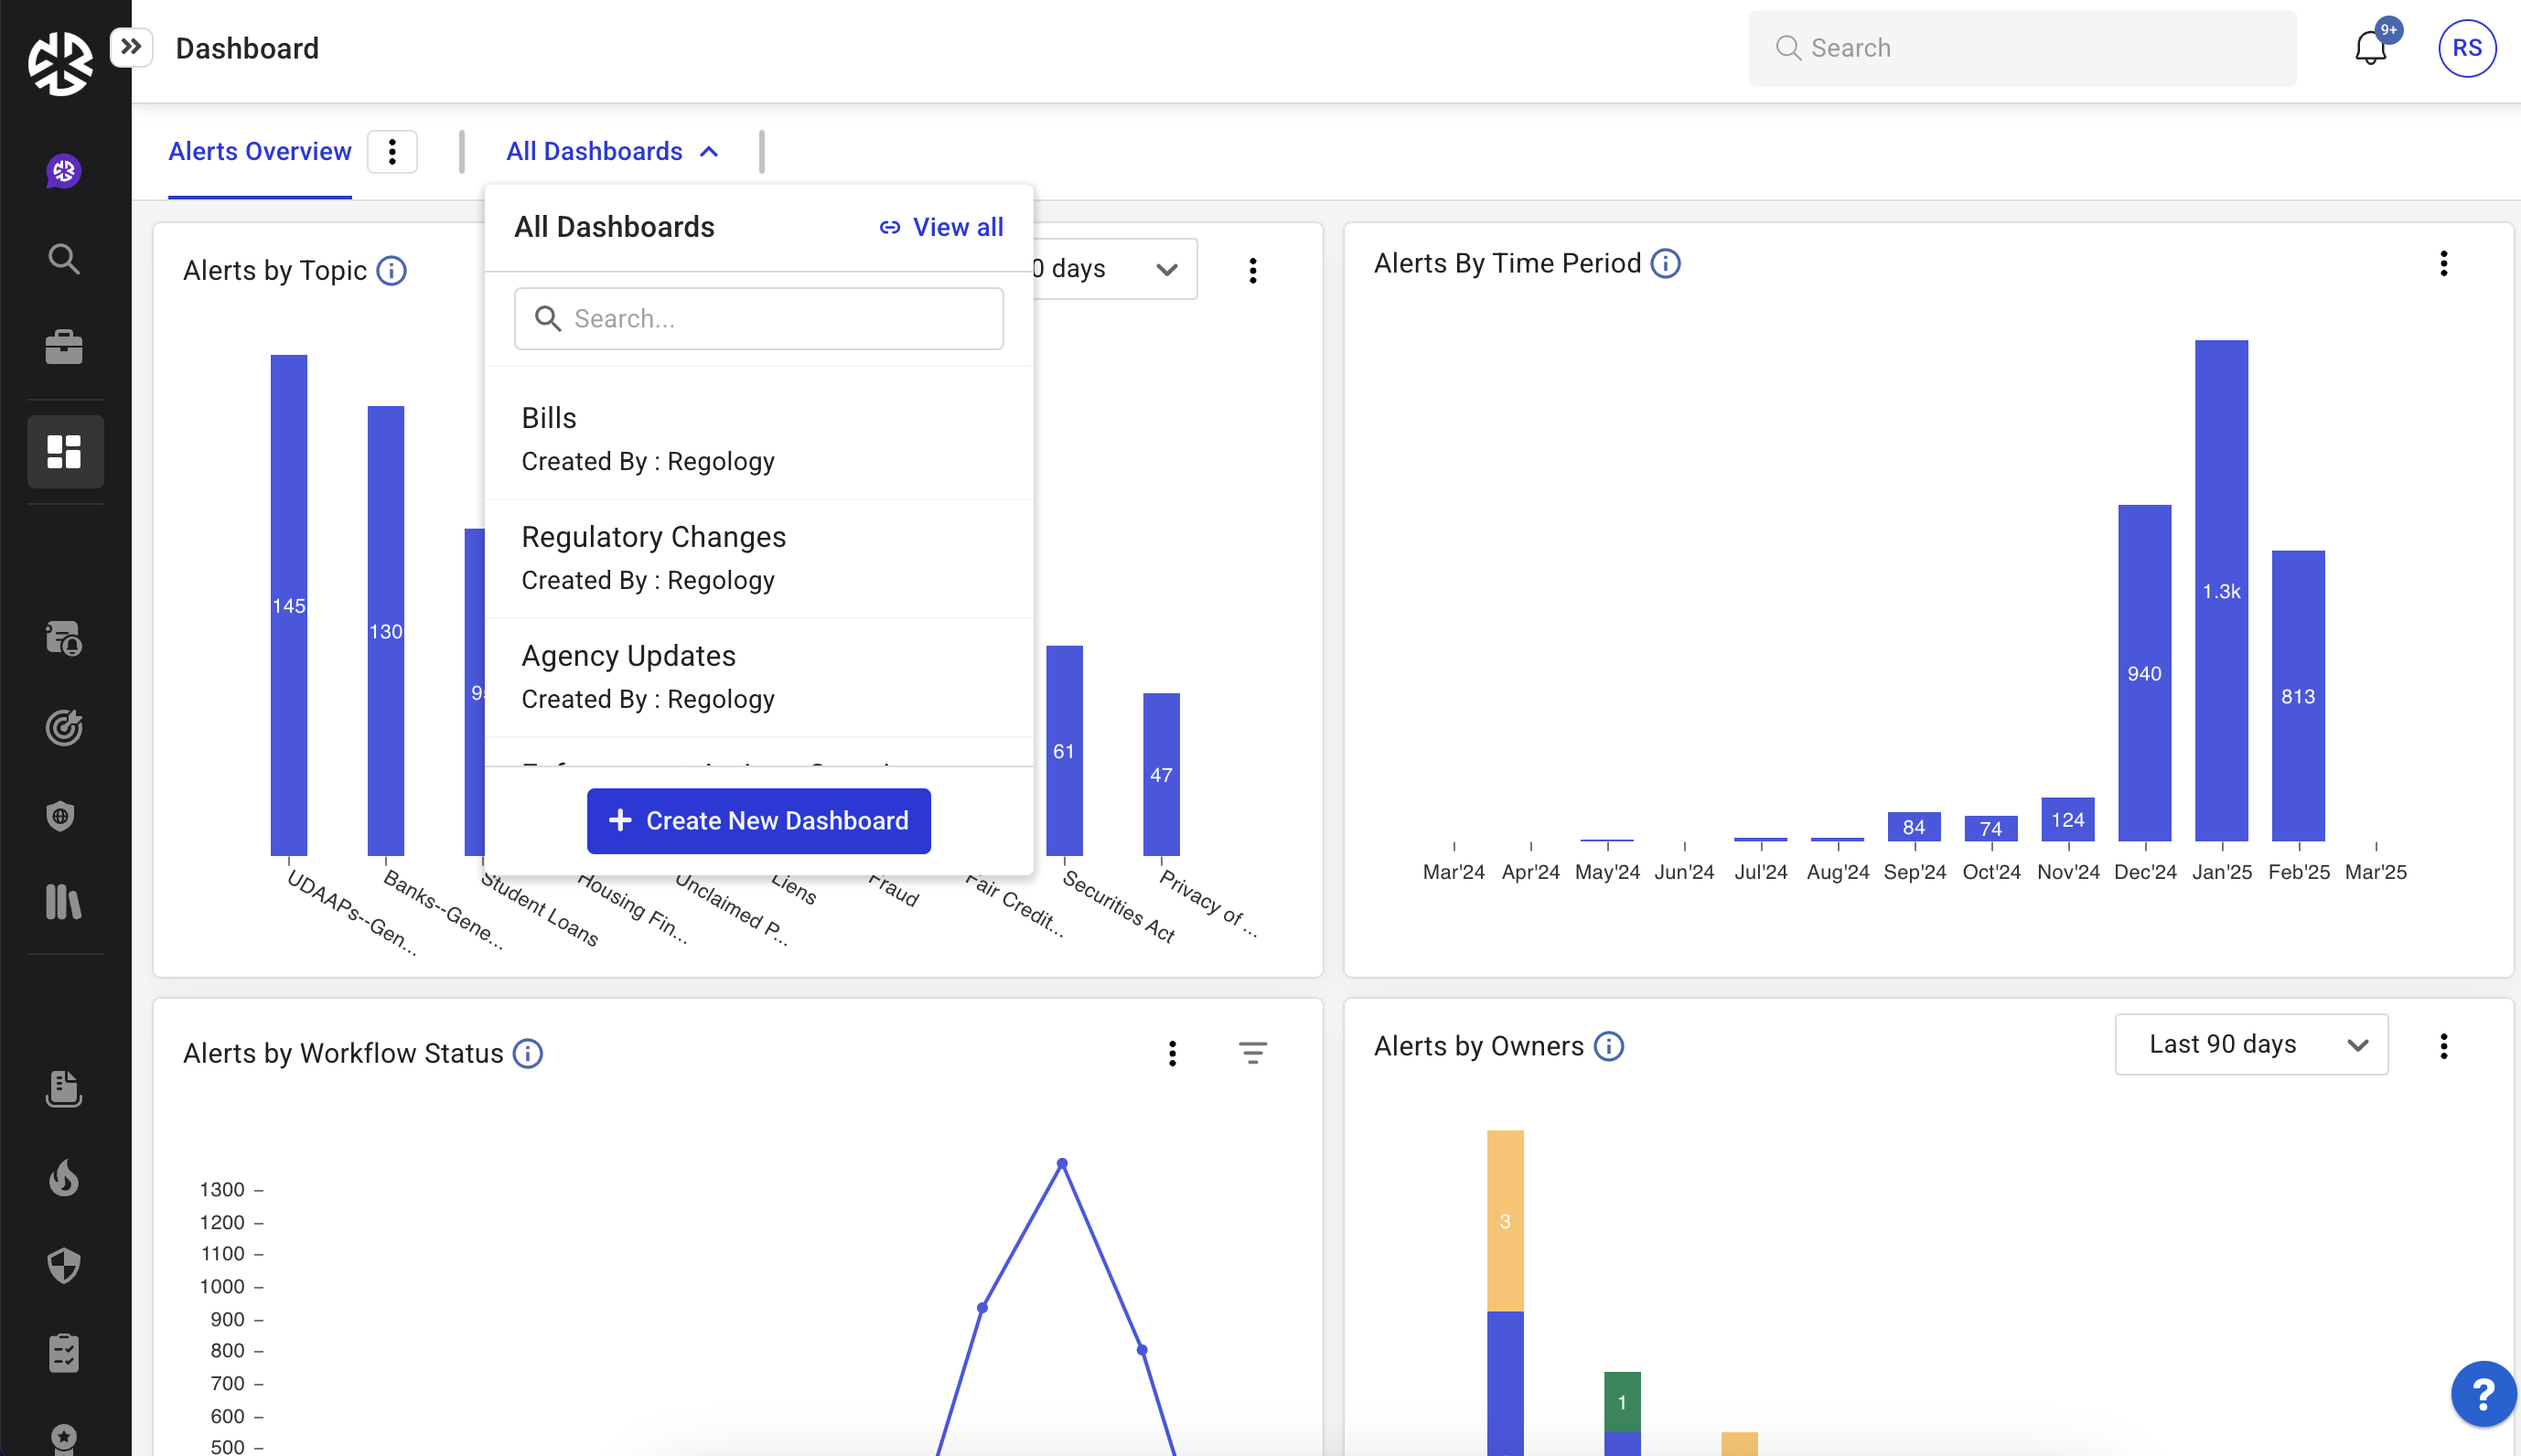
Using the "Create New Dashboard" Button
-
Click All Dashboards > Create New Dashboard.
-
Enter a Name and Description.
-
Click Add Widgets to select data widgets for your dashboard.
-
Customize widgets by:
-
Changing chart types using the Switch Chart Type icon.
-
Selecting a default time filter for widgets.
-
-
Click Save Dashboard to save your new dashboard.
-
Smart Navigation: Clicking on a chart navigates to the related item’s
list view page, with the applied filters automatically highlighted.
Copying an Existing Dashboard
-
Click Ellipsis (⋮) > Make a Copy on an existing dashboard.
-
Modify the copied dashboard as needed.
-
Click Save Dashboard.
Creating a Saved View for Dashboards
To streamline access, users can create a Saved View for frequently used dashboard filters and data views.
Steps to Create a Saved View:
-
Apply your desired filters on the dashboard.
-
Click Save View to store your customized dashboard view.
-
Enter a name for the Saved View.
-
(Optional) Set the Saved View as your default view for quick access.
-
Click Save to confirm.
-
Click Cancel at any time to discard unsaved changes.